Working with quotes
Quotes
Part of the sales process is sending your prospects or customers a quote for your products and services. A sales quote allows the prospective buyer to see the cost for the products and services and make a decision. PSA allows you to generate Quotations that are linked to your opportunities.
When working on quotes, MSPs would like to get estimates on the margin of profit they are making when selling an item using quotes. For better understanding and calculations based on the Cost and Price, we have made some enhancements to our Quotes and line items which are detailed in this guide - Working with unit costs on quotes.
A quote supports the following types of line items:
- T&M Labor
- Product
- Charge
- Service
- Fixed Price
- Fixed Labor
- Retainer by Hour
- Retainer by Amount
- Tech Data
- Item
- Bundles
NOTE Products line items will not show cost in a quote. Cost is determined by supplier. A single product can have multiple suppliers. This will be enhanced in the future releases.
Creating a New Quote
- Go to CRM > Quotations > Quotes.
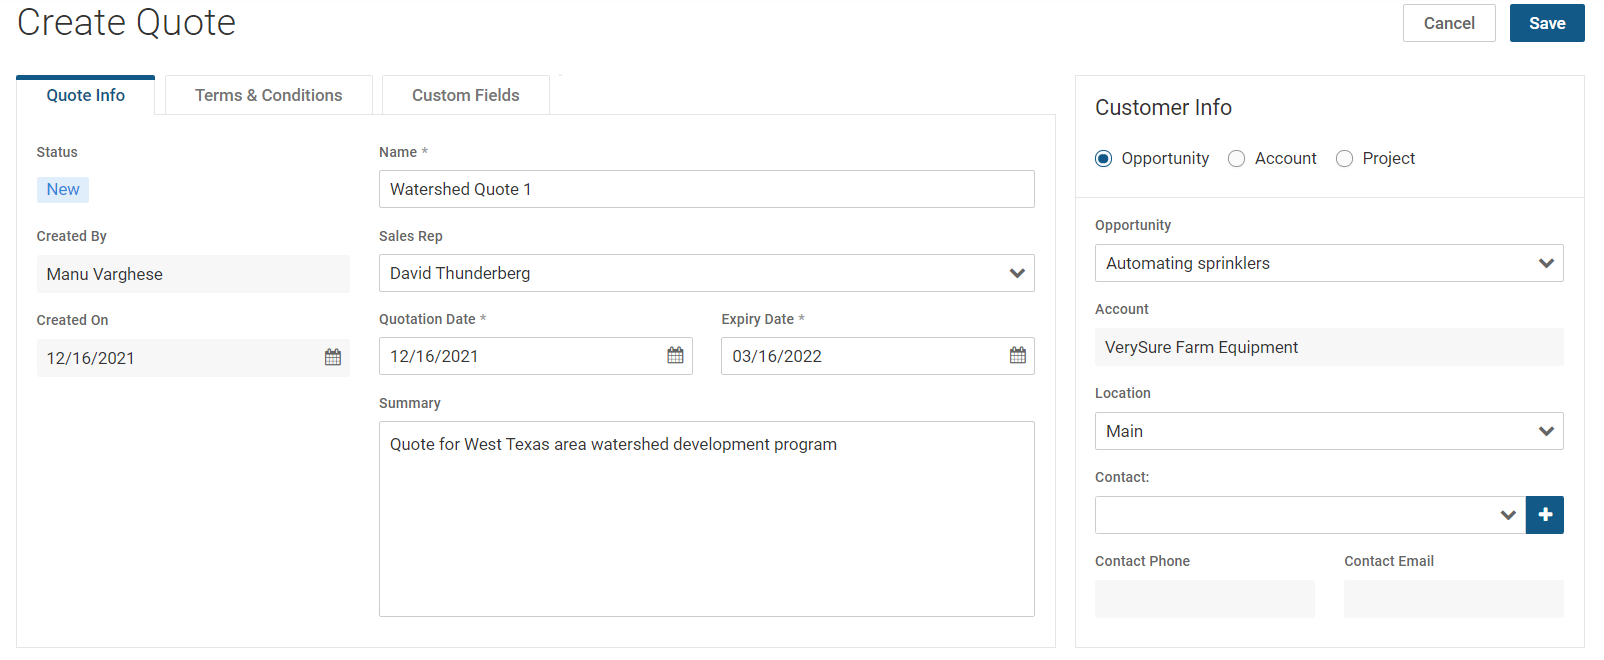
- Click New. The Create Quote page opens. By default, the Quote Info tab opens. Do the following:
- Status: By default, the status will be set to New when a new quote is created.
- Created by: The name of the logged in user will appear here.
- Created on: The current date appears here.
- Name: Enter a name for the quote.
- Sales Rep: Select a sales rep's name from the dropdown.
- Quotation Date: The current date is taken as quotation date. You can change this date if you wish so.
- Expiry Date: Current date plus four months is displayed as the expiry date. You can change this date if you wish so. When a quote expires, you can now update the Status and the Expiry Date values.
- Summary: Enter a brief summary of the quote.
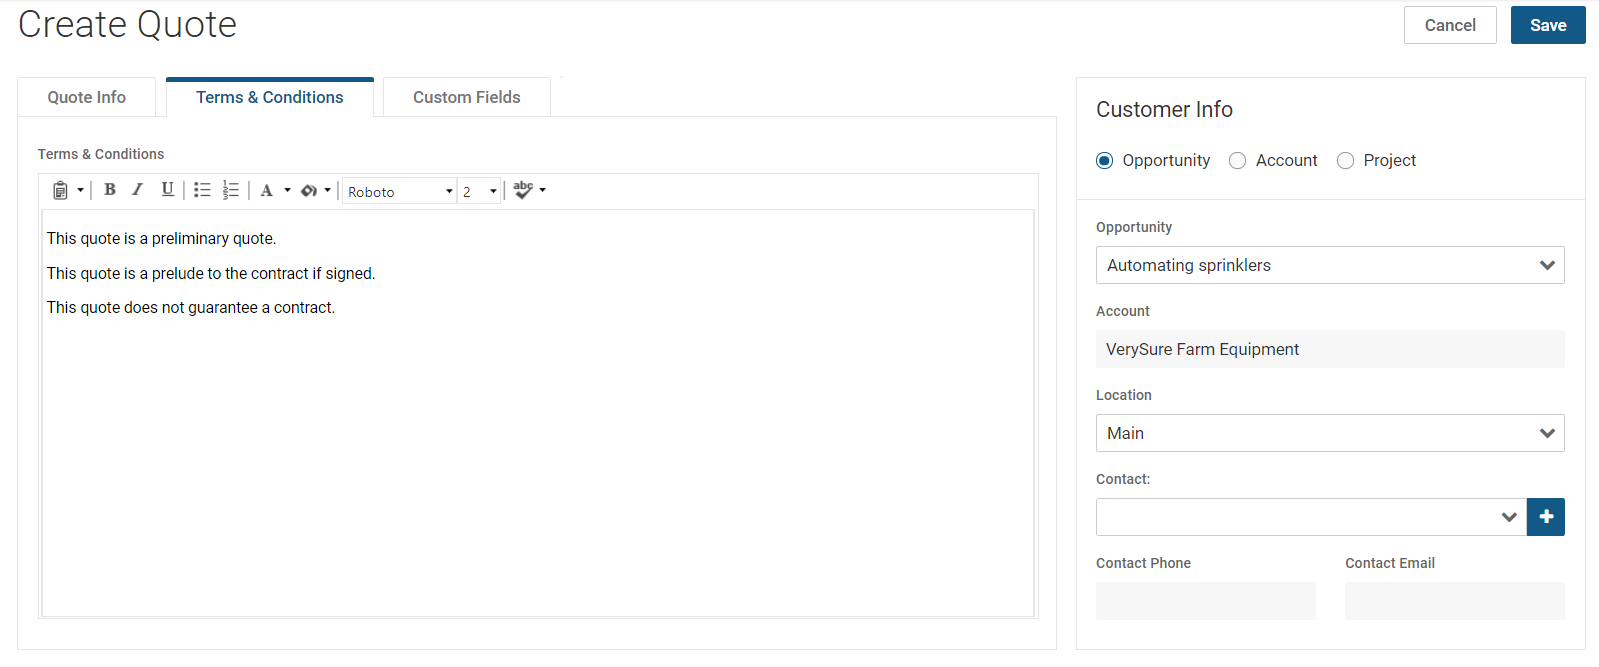
- Move to the next tab Terms and Conditions. Add your terms and conditions here.
- Move to the next tab Custom Fields. The tab will show custom fields only if there are applicable fields. Enter relevant data in the custom fields.
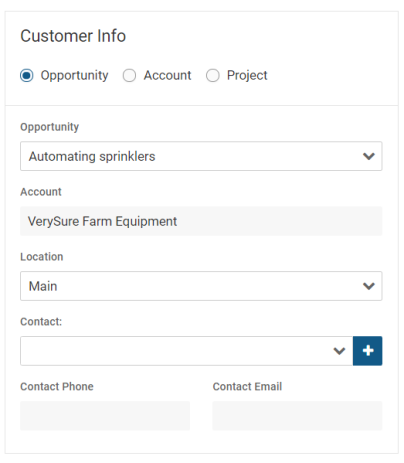
- Customer Info panel: Select Opportunity, Account or Project. By default, Opportunity is selected. If you leave Opportunity as selected, you will see Opportunity dropdown as the first field. You can then select an opportunity from the dropdown. If you select Account, you will see Account dropdown as the first field. If you select Project, you will see Project dropdown as the first field. Whenever you select an item from the first dropdown, the Account and Location fields populate automatically.
- Contact: Select the contact from the dropdown. The contact's phone and email appear in the respective fields below.
- Contact: Select the contact from the dropdown. The contact's phone and email appear in the respective fields below.
- Click Save. Once you save, you will see three new tabs - one called Attachments next to the Custom Fields tab, one called Line Items and another called Notes towards the bottom.
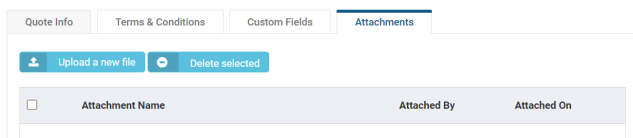
- Go to the Attachments tab. Attach any relevant documents that you may have with a name for the attachment.
- The Line Items tab will be active by default. Click Add to select a line item type from the dropdown.
- Enter the details in the form.

- In the Notes tab, enter any notes that you may want to make.
- Click Save. The details of the line item appear below in the grid.
- Add as many as line items as you wish. As you add, the quote summary appears above the Line Items and Notes tabs.

- Click Save. The details are saved.
NOTE A shortcut to create a new opportunity from quotes is available.
Statuses
Typically, each service quotation progresses through one or more of the following statuses:
- New
- Ready to Send
- Sent
- Approved
- Rejected
- Convert to Projects/Contracts
Note that a rejected quotation can be subsequently approved.
Actions
Clicking the Quote Action button sets the appropriate status for the service quotation and usually displays a dialog or window for you to complete the action or review the results.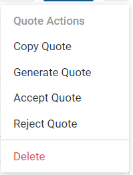
- Copy Quote - Copies this quotation to a new quotation
- Generate Quote - Creates a printable quotation.
- Accept Quote - Accepts the quote
- Reject Quote - Rejects the quote
- Delete Quote - Deletes the quote
Once you generate a quote, two more options appear:
- Print Quote - Prints the quote
- Email Quote - Emails the quote to the contact
Once you accept a quote, the following option appears:
- Convert to Projects/Contract(s)/SO - Converts the project into a project, contract or a sales order.

Converting a Quote to Project, Contract or Sales Order
To convert a quote to a project, contract or a sales order, you will have to accept the quote first by clicking the Accept button from the Quote Actions dropdown. You should also have at least one service line item in the quote to proceed further to create a project, contract or a sales order. This is a 3-in-1 process where you can create all three at the same time if needed.
- After the quote has been accepted, click Convert to Project / Contract(s) / SO from the Quote Actions dropdown. The Convert to Project tab appears. At each point, you have the option of creating or skipping a project, contract or sales order. Let us assume that we need to create all three here.
- Convert to Project: Click Yes. The default selection is No.
- Start Date: Select the start date.
- End Date: Select the end date.
- Project Manager: Select the appropriate project manager from the dropdown.
- Department: Select the appropriate department from the dropdown.
- Copy the Project From: Select Template Projects or All Projects.
- Project: Select the appropriate project from the dropdown. If the project has a description, it will automatically appear in the Description area.
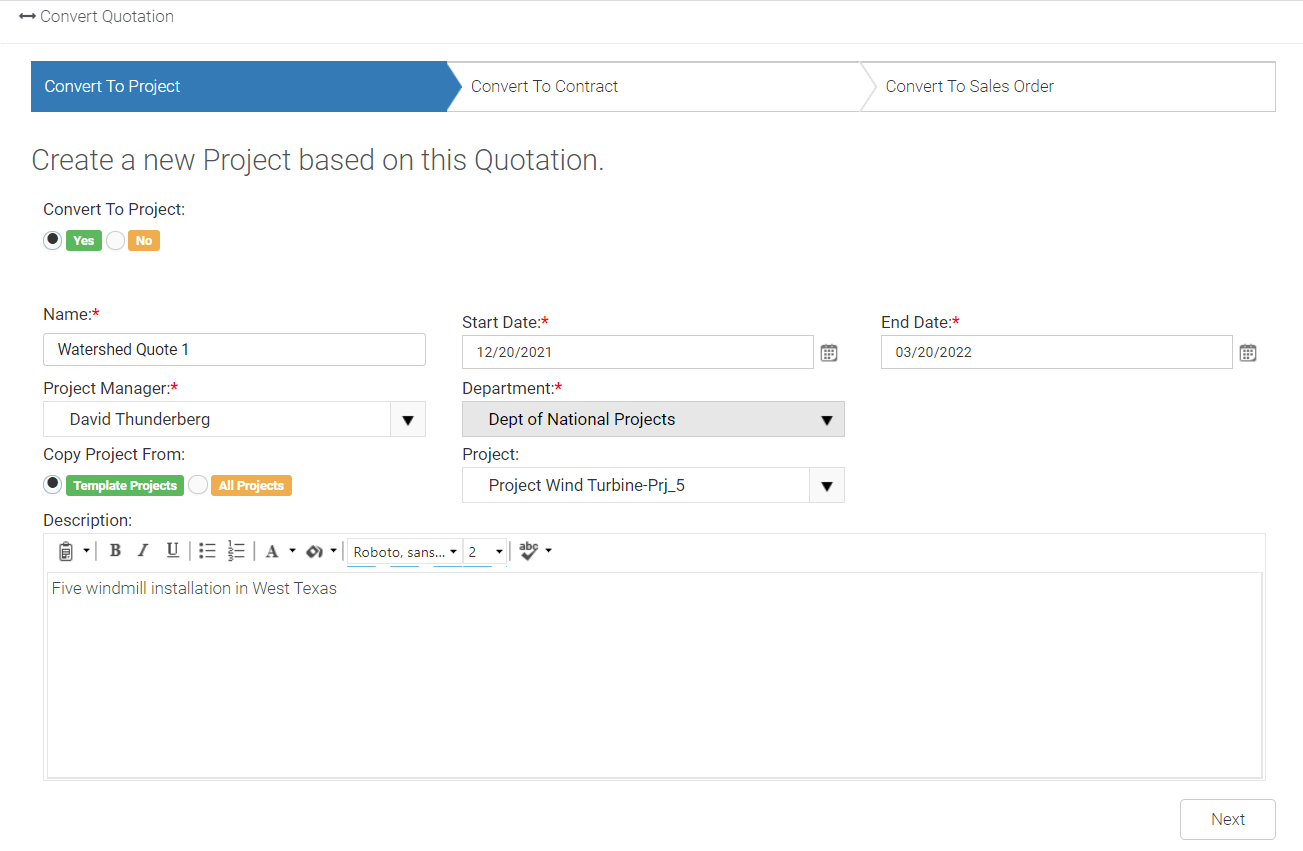
- Click Next. The Convert to Contract tab appears.
- Convert to Contract: Click Yes. The default selection is No.
- Click the check box under Type on the extreme left of the quote, the Activate checkbox, the Default radio button, and the Link to Project radio button. Clicking the Type checkbox for the quote is necessary; however, clicking the Activate checkbox, Default radio button and the Link to Project radio button are optional.
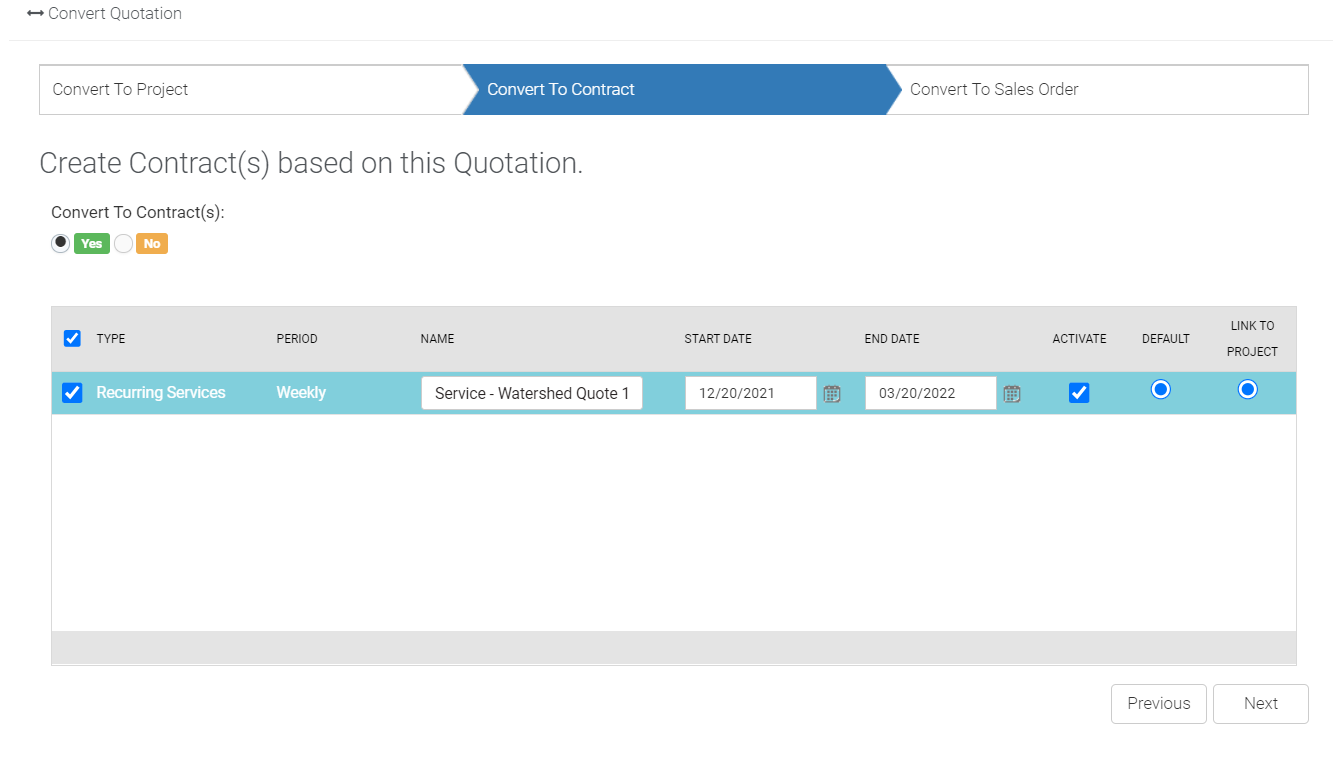
- Click Next. The Convert to Sales Order tab appears.
- Convert to Sales Order: Click Yes. The default selection is No.
- PO#: Enter the purchase order number.
- PO Date: Select the purchase order date.
- Ship By: Select the date on which the deliverables have to be shipped.
- Price Level: Select the appropriate price level from the dropdown.
- Delivery Method: Select the appropriate delivery method from the dropdown.
- Payment Term: Select the appropriate payment term from the dropdown.
- Delivery Type: Select the appropriate delivery type from the dropdown.
- Link to Project: Select either Existing Project or Converted Project. When you select Existing Project or Converted Project, the Notes section will populate if either
- Project: Select the appropriate project from the dropdown.
- Sales Rep: Select the appropriate sales rep from the dropdown.
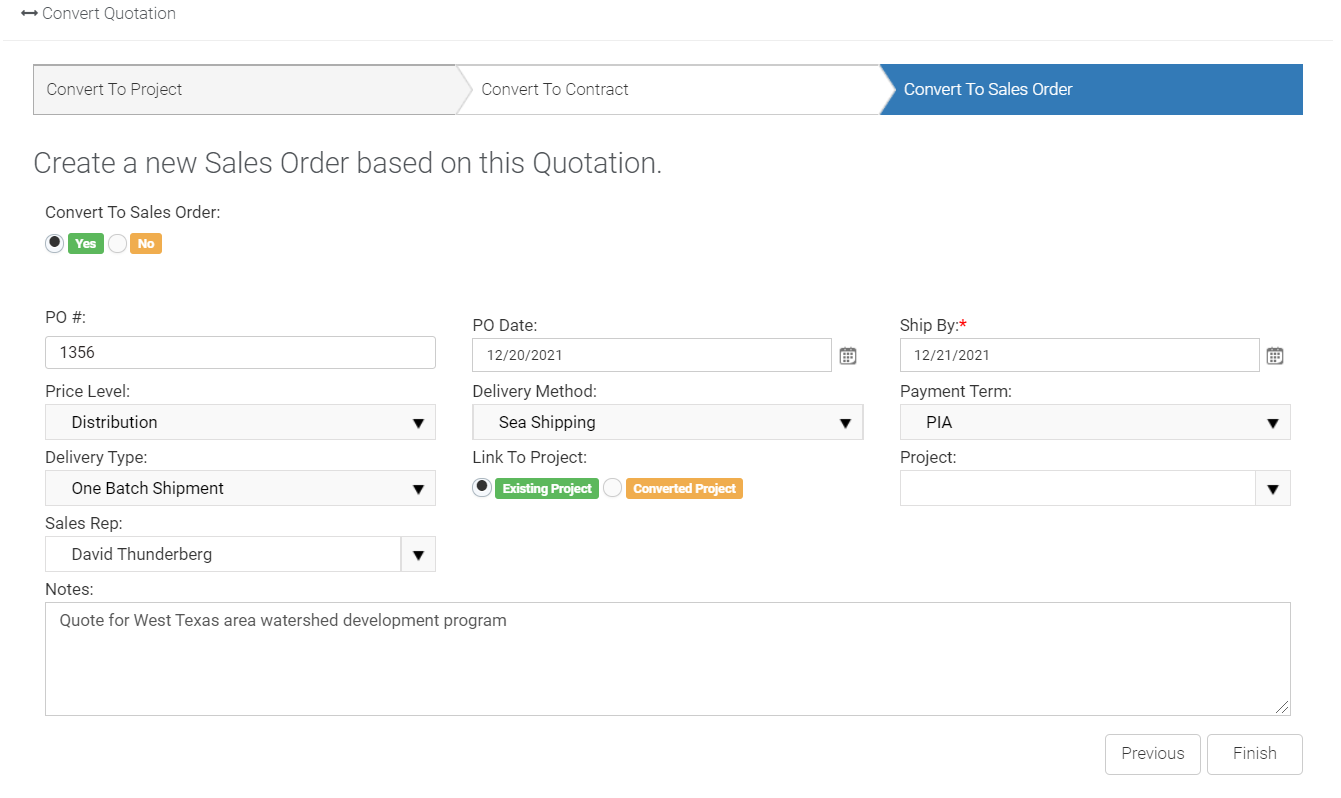
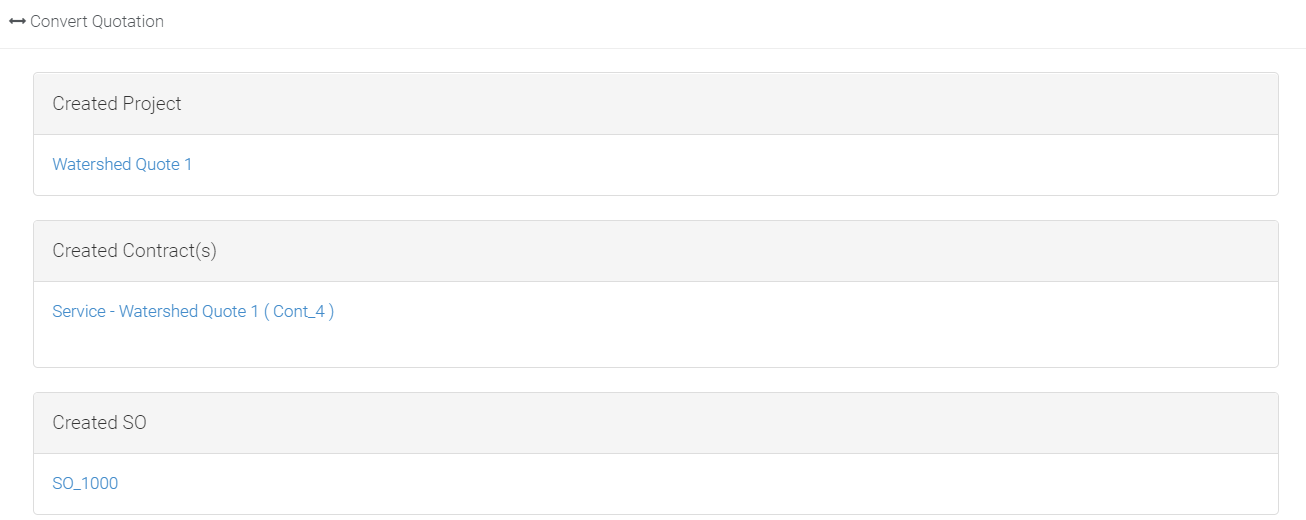
- Click Finish. All three artifacts are now created, and you will see the following screen. You can click the respective link to go to the created project, contract or sales order.
Related Topics
- Bundles in quotes
- Tech Data integration
- Etilize integration
- Ingram Micro integration


