My Company: Part 2
Introduction
Admin > My Company
This topic introduces pages from My Company > Outbound Email to Cytracom integration.
The My Company menu specifies settings about your own company.
- On the global navigation bar, click Admin.
- On the local navigation bar, click My Company.
Company Settings
The Company Settings page include the following tabs:
- General
- Timesheet
- Project
- Invoice
- Contract
- CRM
- Inventory
- User Account
- Support User
For a detailed explanation about locations and each tab under the Company Settings page, refer My Company - Part 1.
Outbound Email
Admin > My Company > Outbound Email
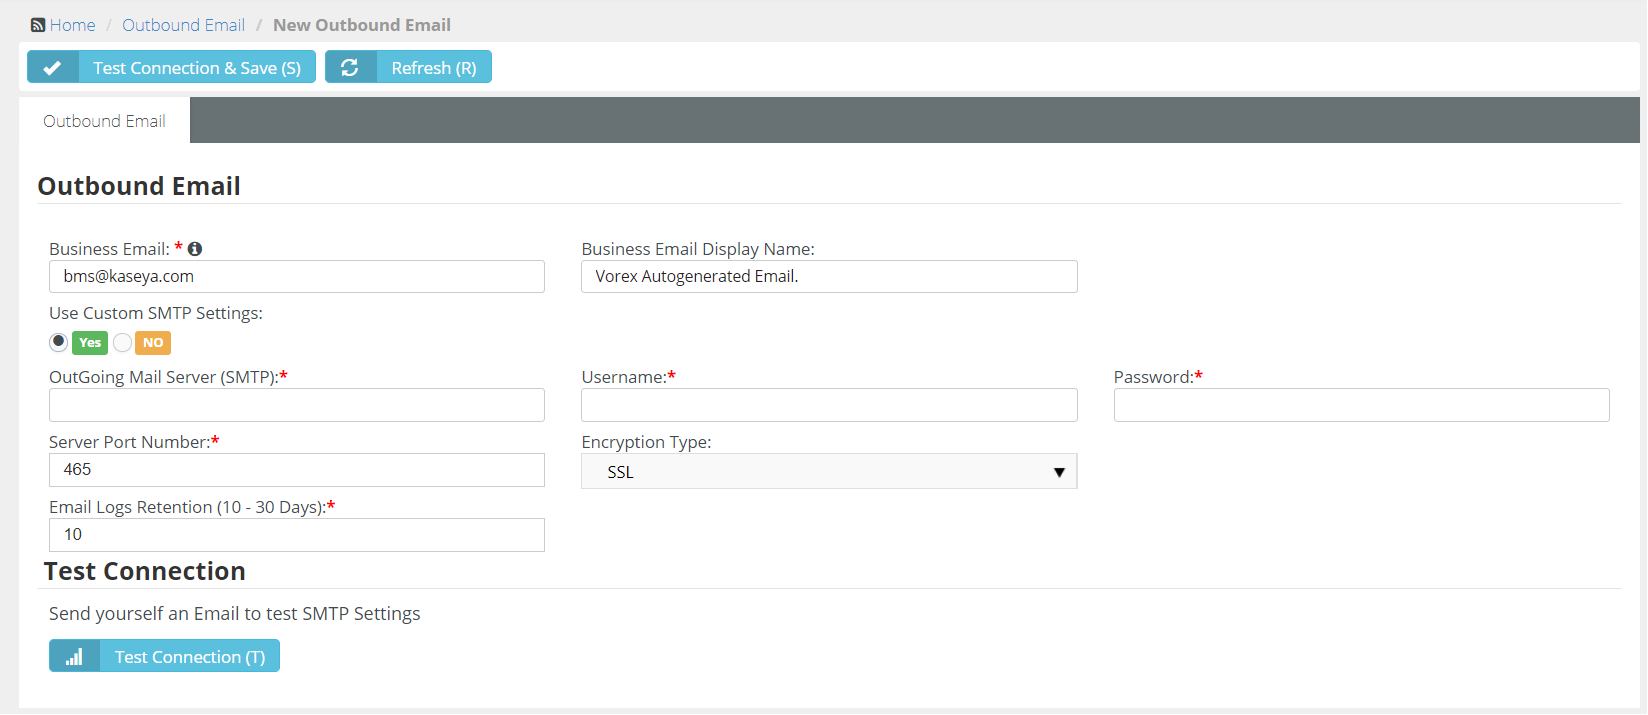
The Outbound Email page enables you to configure a custom outgoing mail server. This forces your instance of BMS to send all outgoing email and notifications through your company's mail server instead of the default SMTP server.
- Business Email - Enter the email address from where outgoing email has to be sent.
- Business Email Display Name - Enter the name that is to be reflected while sending the outgoing email.
- Use Custom SMTP Settings - No is selected by default. With the default option No in place, the only field where you need to enter information is Email Logs Retention field.
- Email Logs Retention - Enter a number between 10 and 30.
If you choose Yes for Use Custom SMTP Settings, a Test Connection button appears at the bottom after the Email Logs Retention field. Additionally, the Outgoing Mail Server, Username, Password, Server Port Number, and Encryption Type fields become editable along with the Email Logs Retention field.
- Outgoing Mail Server - Enter the outgoing mail server's name.
- Username - Enter the username for the mail.
- Password - Enter the password for the mail.
- Server Port Number - Enter the port number for the server. Default is 465.
- Encryption Type - Select an encryption type from the dropdown list. SSL is default, and TLS is non-encrypted.
- Email Logs Retention - Enter a number between 10 and 30.
- Click the Test Connection button to test the connection. You should get yourself an email.
Related topics
- Setting up Custom SMTP with Office 365 as Outbound Email in BMS.
- Setting up Custom SMTP with GMAIL as Outbound Email in BMS
Custom Fields
See Custom Fields.
Company News
The Company News page manages communications published in module dashboards and the client portal dashboard. Types of communications include:
- Announcement
- Event
- Information
- Message
- News
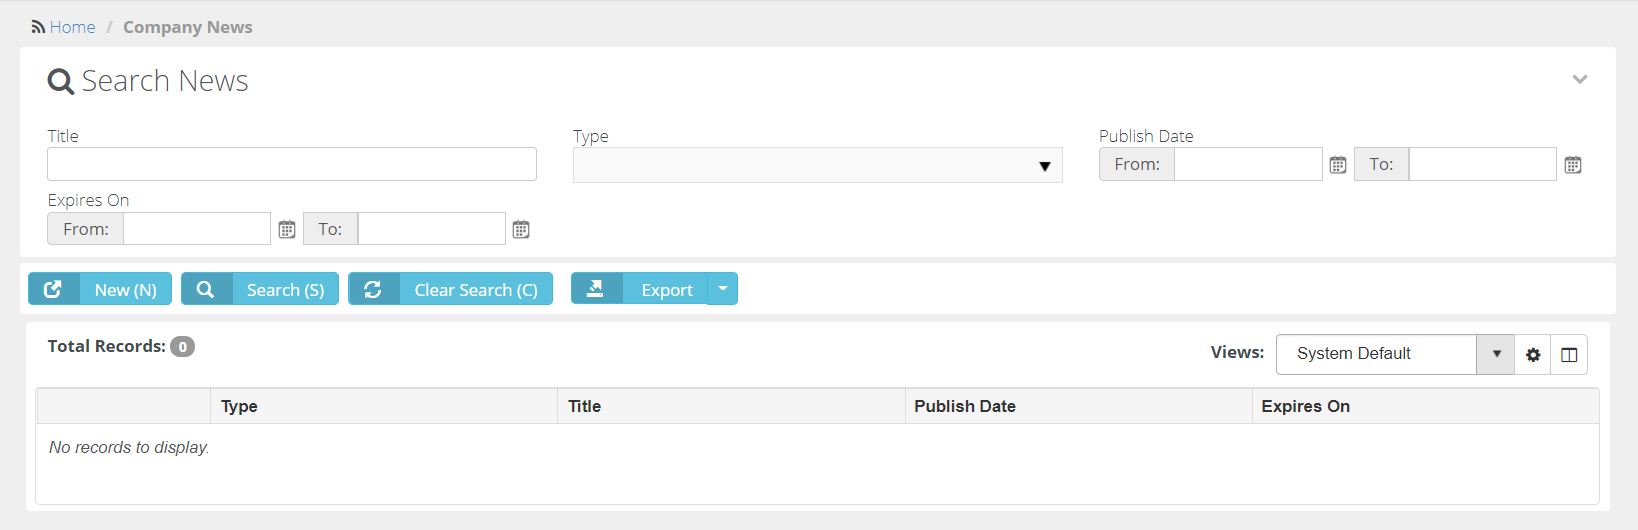
Searching for a news announcement
You can search for company news by Title, Type, Date of Publications (From and To), and Date of Expiry (From and To).
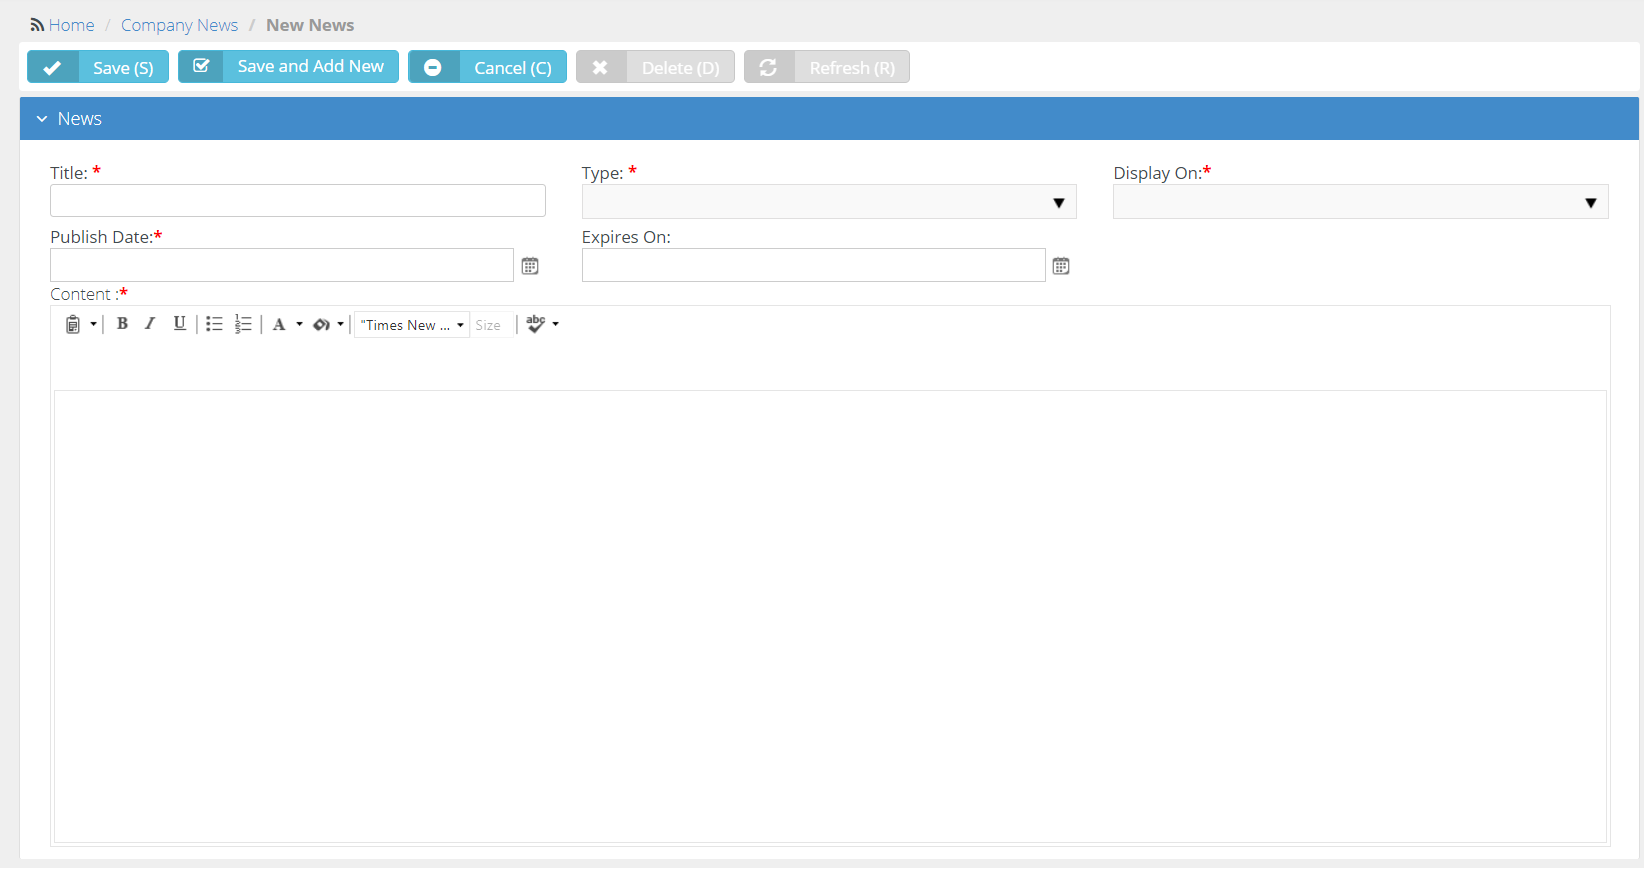
Creating a news announcement
- Click New. A fresh page opens with multiple fields.
- Title: Enter an appropriate title for the news.
- Type: Select the category of news from the dropdown list.
- Display on: Select the modules where the news has to be displayed.
- Publish Date: Select a date on which the news has to be displayed first.
- Expires on: Select a date on which the news has to expire.
- Content: Enter the news that you want to display.
- Click Save or click Save and Add New if you want to add another piece of news.
Exporting the grid
You can export the current page or all pages in the grid.
To export the current page, click Export > Current Page. An Excel file containing the information will be downloaded to your computer.
To export all pages, click Export > All Pages. An Excel file containing the information will be downloaded to your computer.
Holidays
Admin > My Company > Holidays
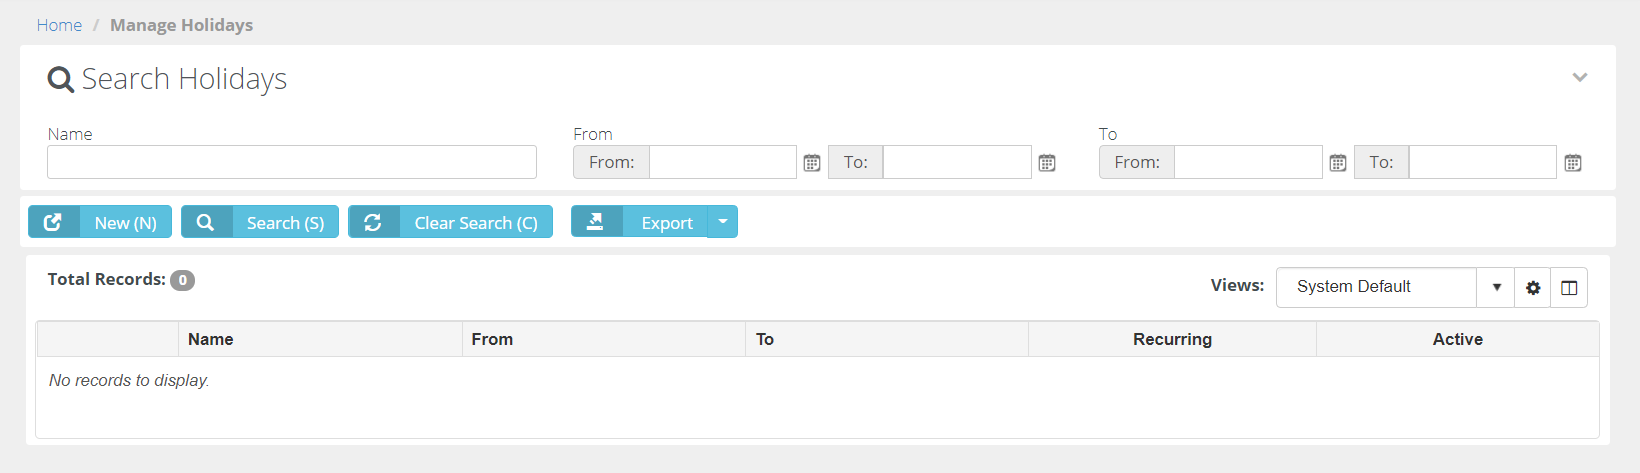
The Manage Holidays page specifies the holidays recognized by your company.
Searching for a holiday
You can search for holidays by Name, From date range, and To date range.
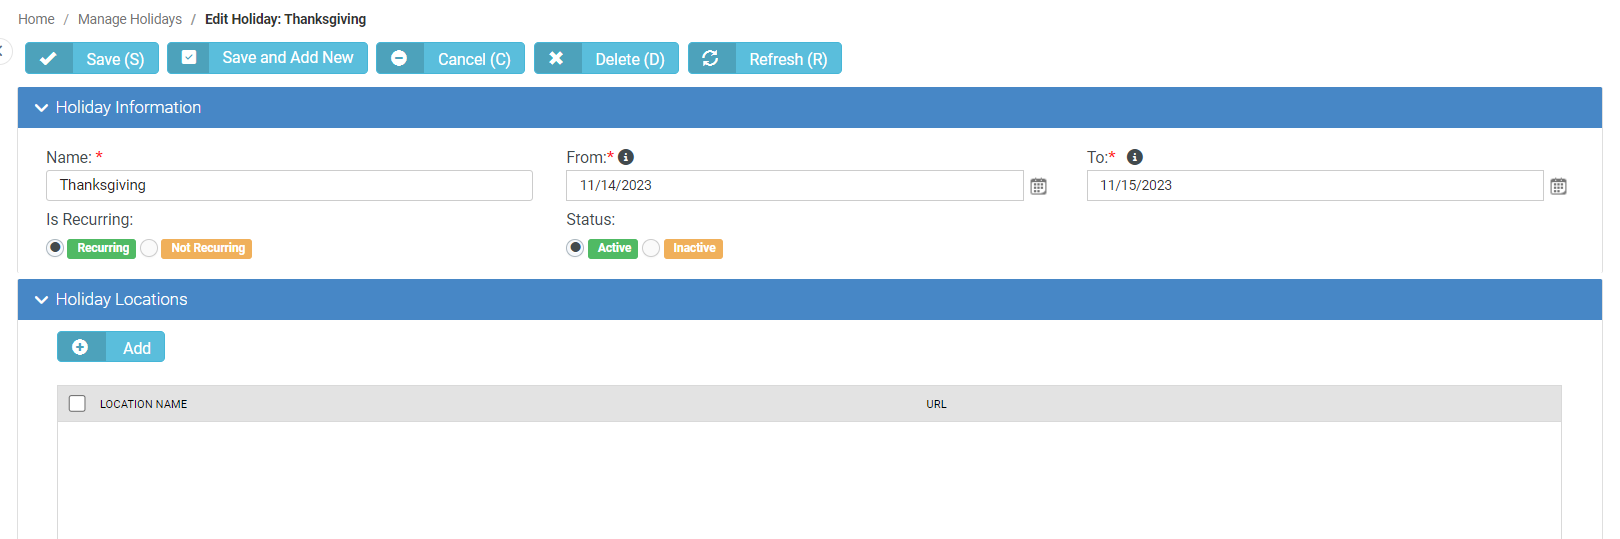
Creating a new holiday
- Click New. A fresh page opens with multiple fields.
- Name: Enter an appropriate name for the holiday.
- Select Recurring or Not Recurring as the case may be. By default, the holiday is recurring.
- From: Select a from date.
- Select Active or Inactive. By default, the holiday is active.
- To: Select a to date.
- Click Save or click Save and Add New if you want to add another holiday. When you save, the page opens to reveal the Holiday Locations section below.
-
Click Add. The Search Locations window opens. It will show a list of office locations for your account.
-
Click the checkbox of the relevant locations on the left to select those locations.
-
Click OK on the top left. The locations will be added to the grid under the Holiday Locations section.
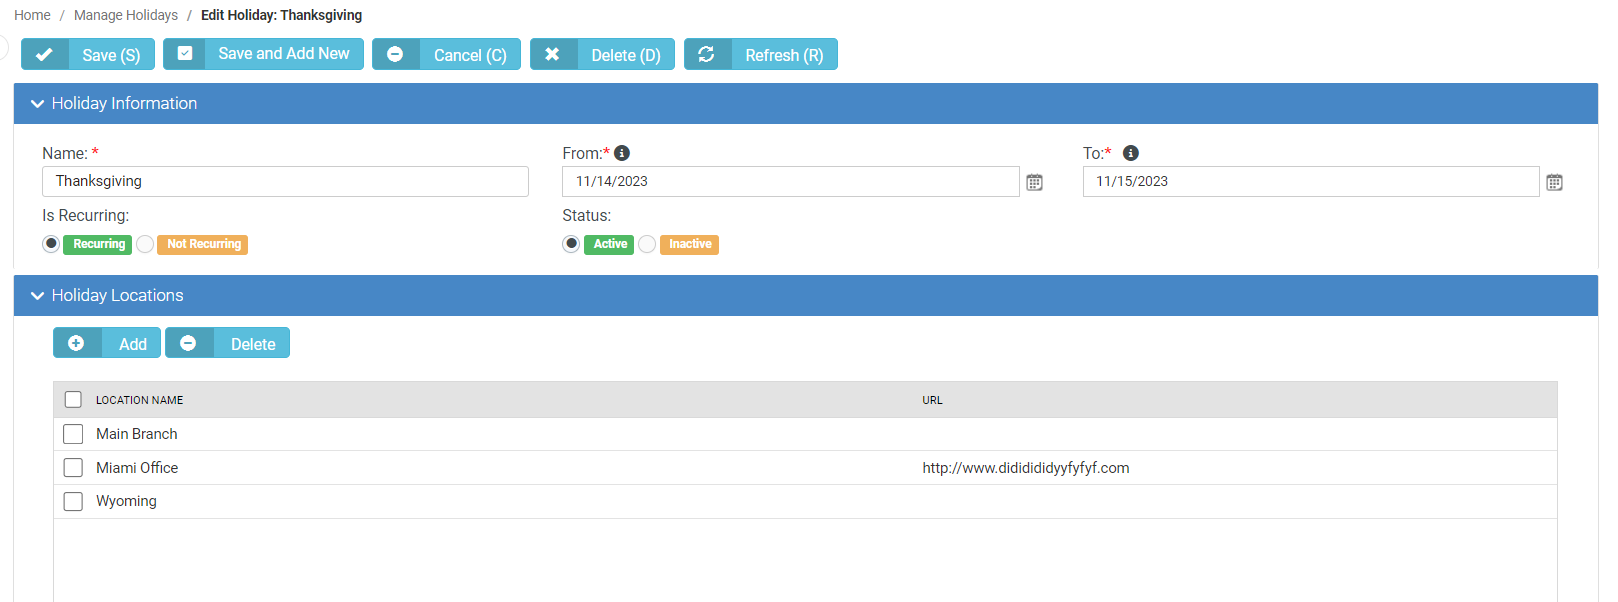
-
In case you want to delete any of the added locations, click to select the checkbox of the location on the left and then click Delete.
-
Click Save. You will see a green-colored success message on the top of the message to this effect.
NOTE If you do not add a location or locations to a holiday, the SLA will continue to count.
Exporting the grid
You can export the current page or all pages in the grid.
To export the current page, click Export > Current Page. An Excel file containing the information will be downloaded to your computer.
To export all pages, click Export > All Pages. An Excel file containing the information will be downloaded to your computer.
Administrative Work
Admin > My Company > Administrative Work
The Administrative Work page creates tasks used to track time against company activities not associated with projects or tickets. Typically, administrative work tasks are non-billable. Once created, tasks are available on employee time sheets to classify time entries. Examples include paperwork, meetings, training, holidays, sick days, vacation, jury duty, etc.
The fields in the Basics section gives the path to Time Sheet route and Expense Sheet route with a status and a manager.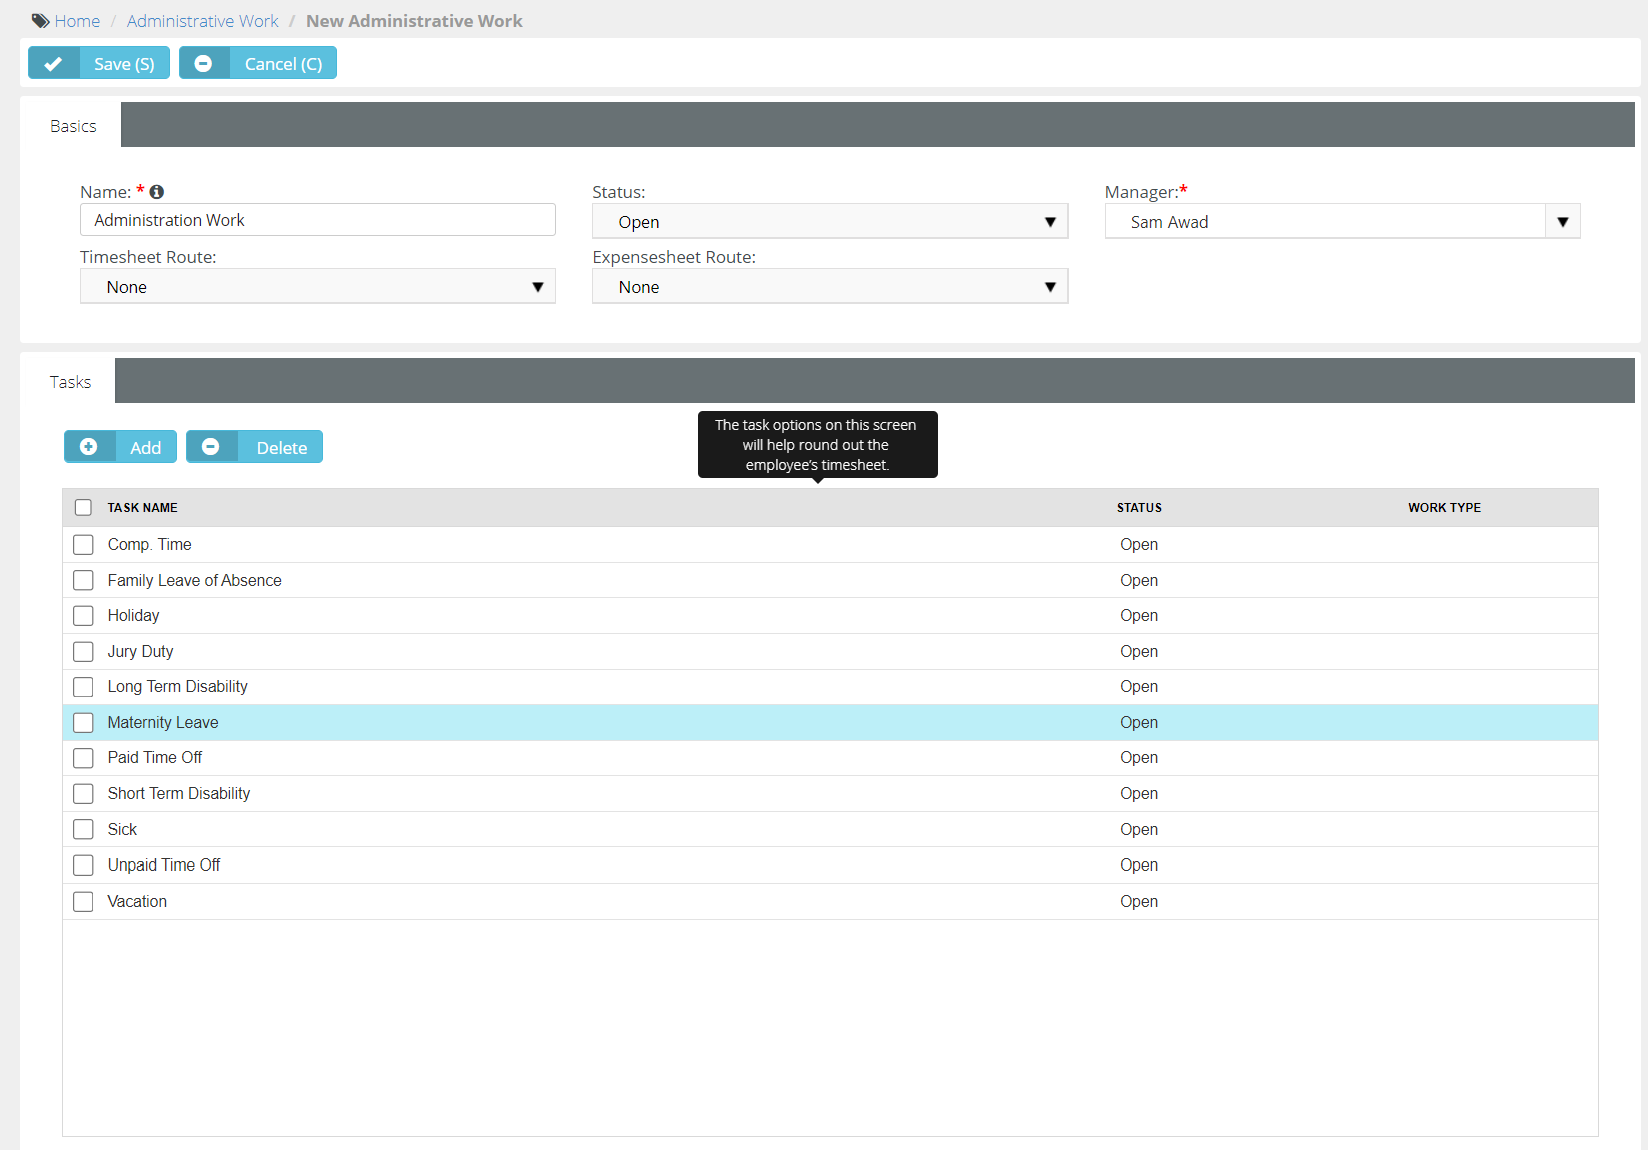
Adding a task
- Click Add. A popup opens.
- Task Name: Enter a task name.
- Status: Select a status from the dropdown list.
- Work Type: Select a work type from the dropdown list.
- Click Save.

Deleting an administrative work task
- Click the checkbox next to an administrative work task.
- Click Delete.
To delete multiple administrative work tasks, select the checkboxes of administrative work tasks that you want to delete and click Delete.
Auth & Provision
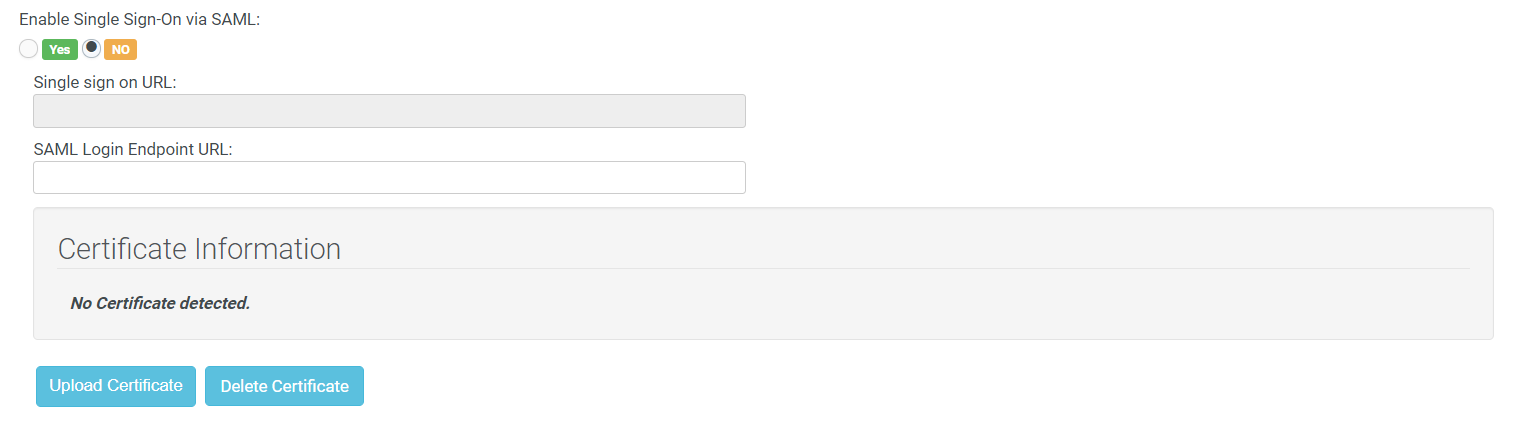
The Auth & Provision page manages single sign-on and multi-factor authentication options.
Single sign-on
Multi-Factor Authentication
| Require MFA for non-SSO users | |
|---|---|
| Yes | No (Default selection is No.) |
|
|

| Enable Single Sign-on via SAML | |
|---|---|
| Yes (Default selection is Yes.) | No |
|
|
User and Contact Provisioning
| Provisioning Mode | ||
|---|---|---|
|
|
|
|
|
|

IT Glue settings
To enable IT Glue integration, click Yes. The default selection is No. If you do not want to integrate BMS with IT Glue, leave the selection as it is.
For more information, see Enable the integration in BMS in BMS-IT Glue integration.
Cytracom integration
For Cytracom integration, see How to enable Cytracom integration in BMS.


