Payments
Introduction
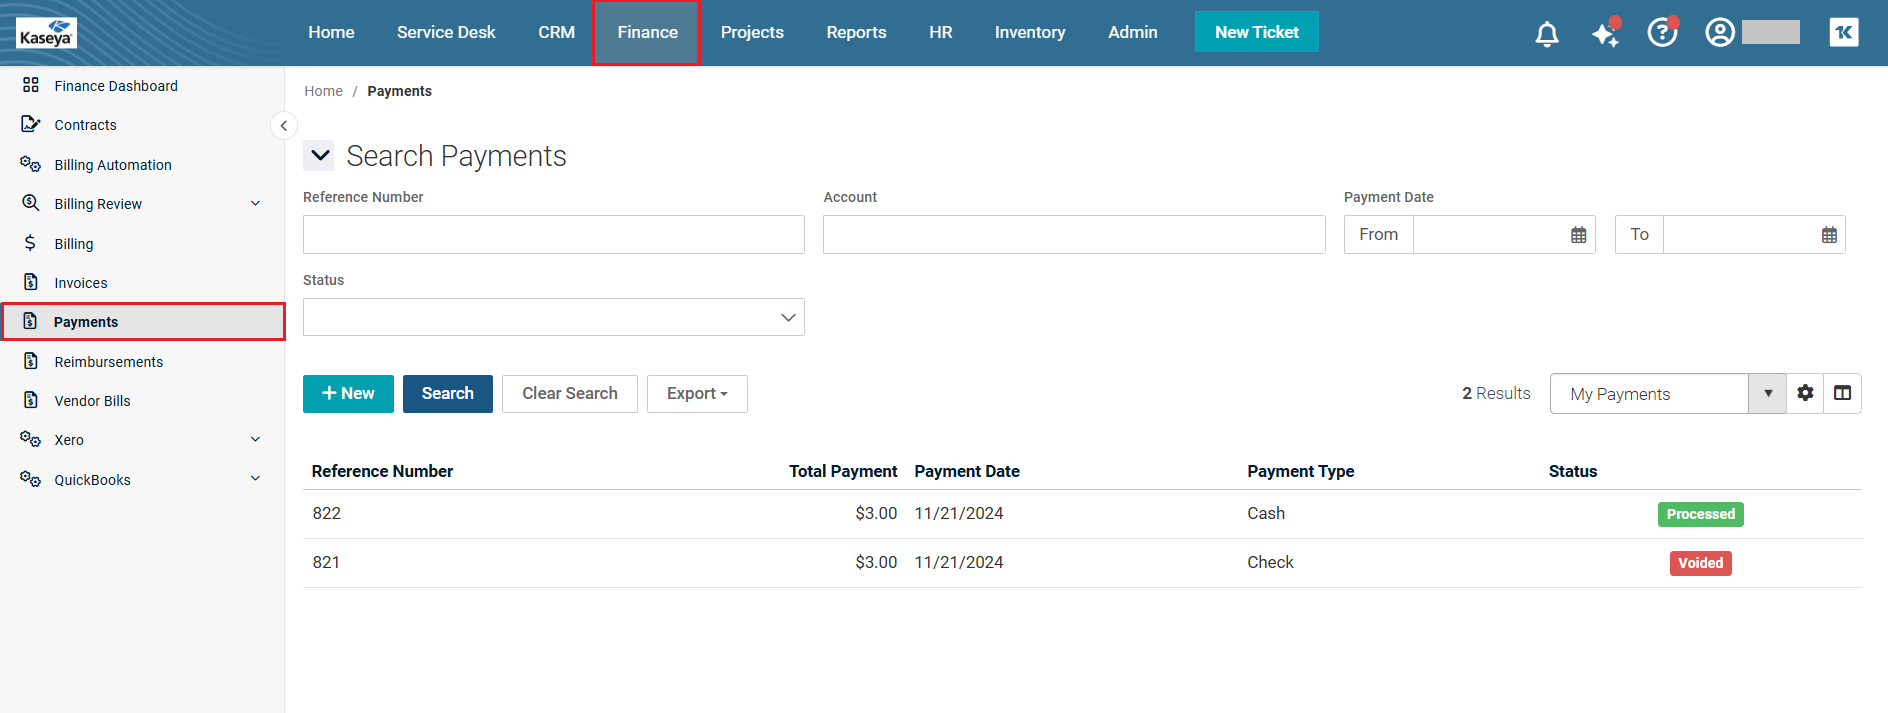
The Payments page matches payments received from customers to invoices. For each invoice linked to a payment, you can optionally edit the amount received and enter an additional discount amount. To set an invoice line to Fully Paid, the amount and discount must equal the total. You can also upload attachments to a payment record. This topic enumerates the steps to process a payment manually from the Payments page. You can see payments received in the Payments page. This page is also called Payments listing page.
Searching for a payment
You can search for a payment using one or more of the following search criteria:
-
Reference Number
-
Account
-
Payment Date (From and To)
-
Status
-
Navigate to Finance > Payments. The Payments page opens.
-
Reference Number: Enter the reference number that you wish to search for.
-
Account: Enter the name of the account that you wish to search for.
-
Payment Date: Select a date range. Select a from date and a to date.
-
Status: Select Check All to select all options under Status or select the appropriate status to search for.
-
Click Search. The search results will be displayed. To clear the search results, click Clear Search.
Processing a payment manually
-
Navigate to Finance > Payments.
-
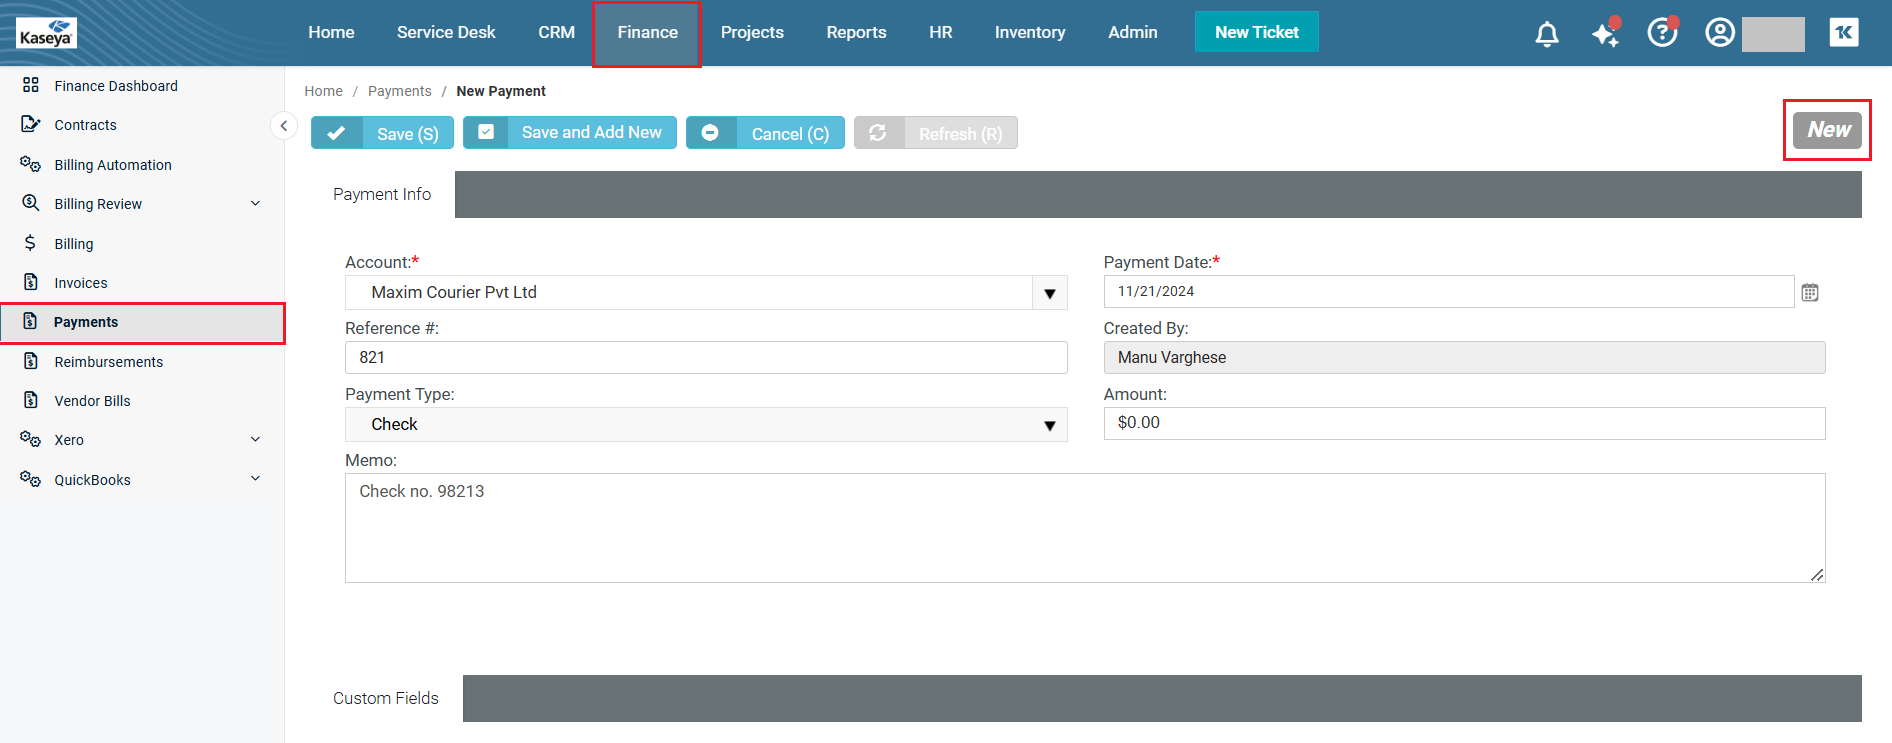
Click New. The New Payment page opens. When you are acknowledging a new payment, you will see the New status on the top right. (See the image after step 9.)
-
Account: Select the appropriate account from the dropdown.
-
Payment Date: Select the payment date from the calendar.
-
Reference #: Enter a reference number. This number is for tracking purpose.
-
Created By: The logged in user's name appears here.
-
Payment Type: Select the appropriate payment type from the dropdown.
-
Amount: Enter the appropriate amount that is due from the customers.
-
Memo: Enter a brief description about the payment received.
-
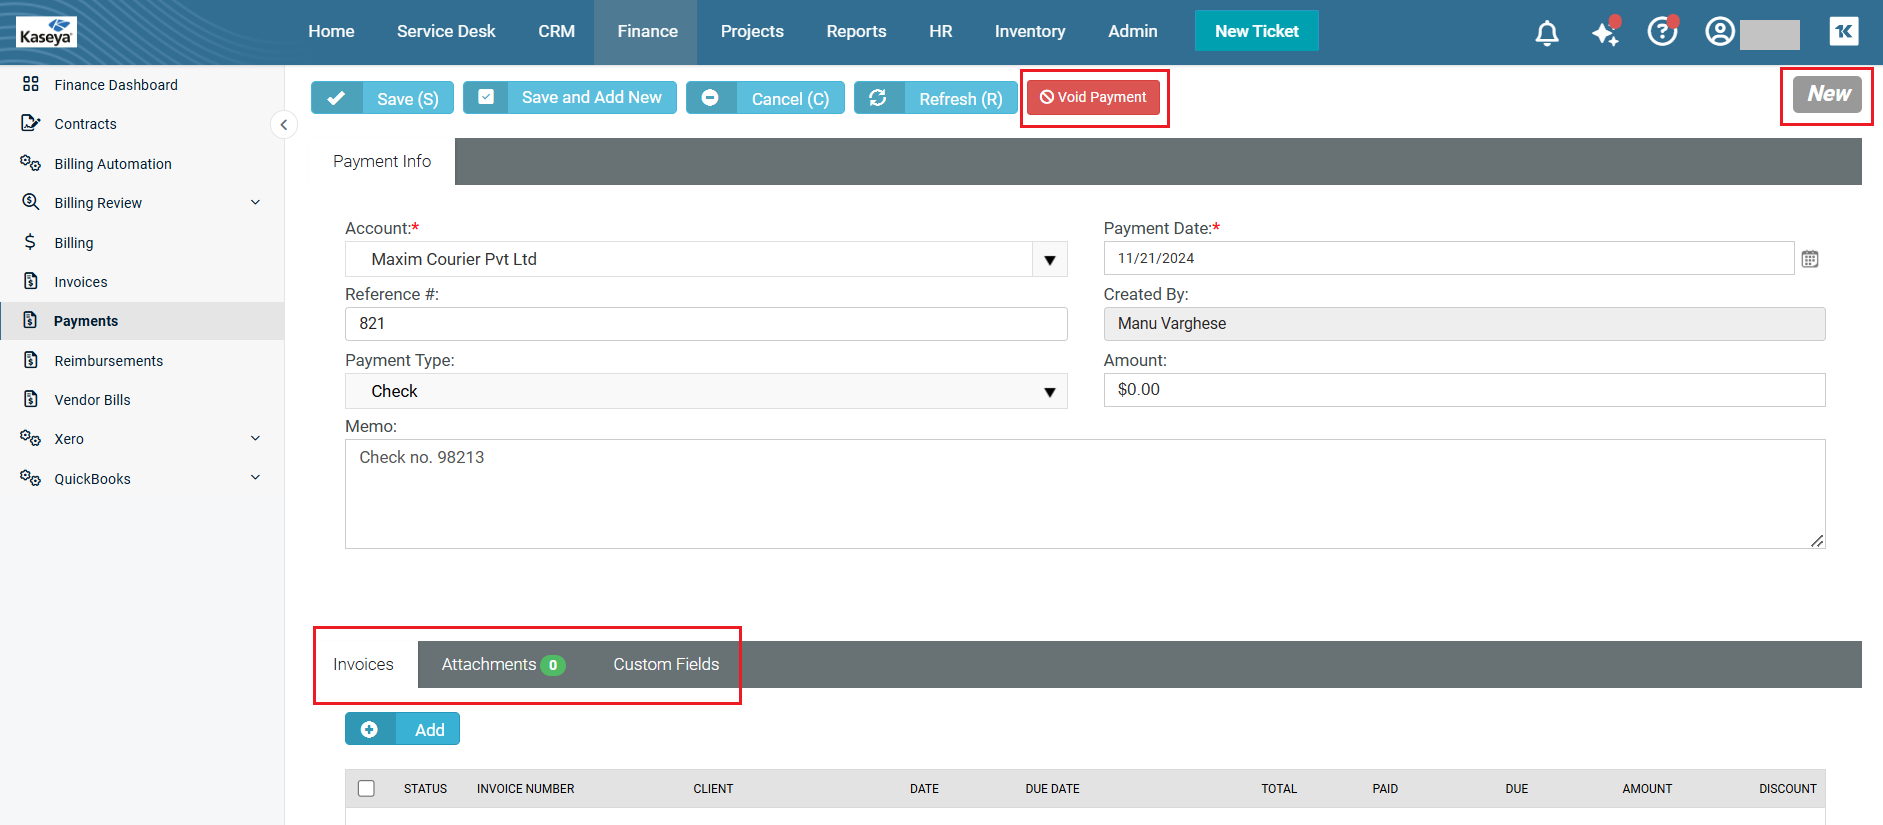
Click Save. The payment information is saved. Two new tabs, Invoices and Attachments (in addition to Custom tab), open towards the bottom of the page. You will also see the Void button on the top.
-
Click Invoices tab and then click Add to add the appropriate invoice. A new window will show you a list of available invoices by default. If you don't find the invoice you are looking for, you can click Search.
NOTE You can only link invoice with status Ready To Send, Sent or Partially Paid to a payment.
-
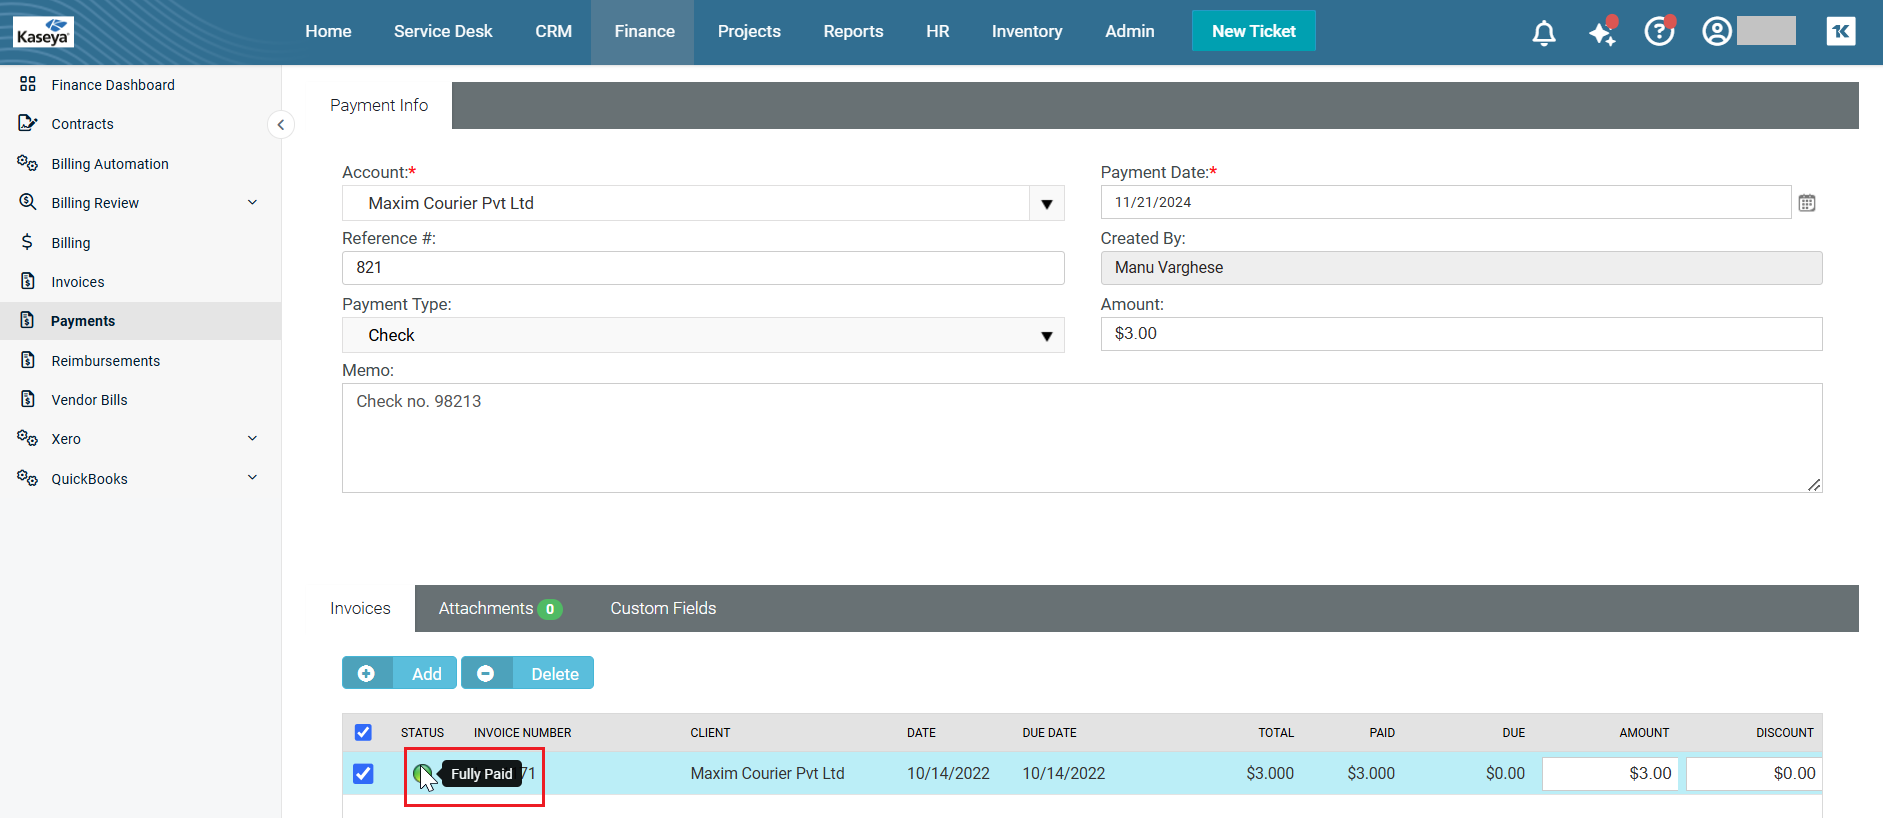
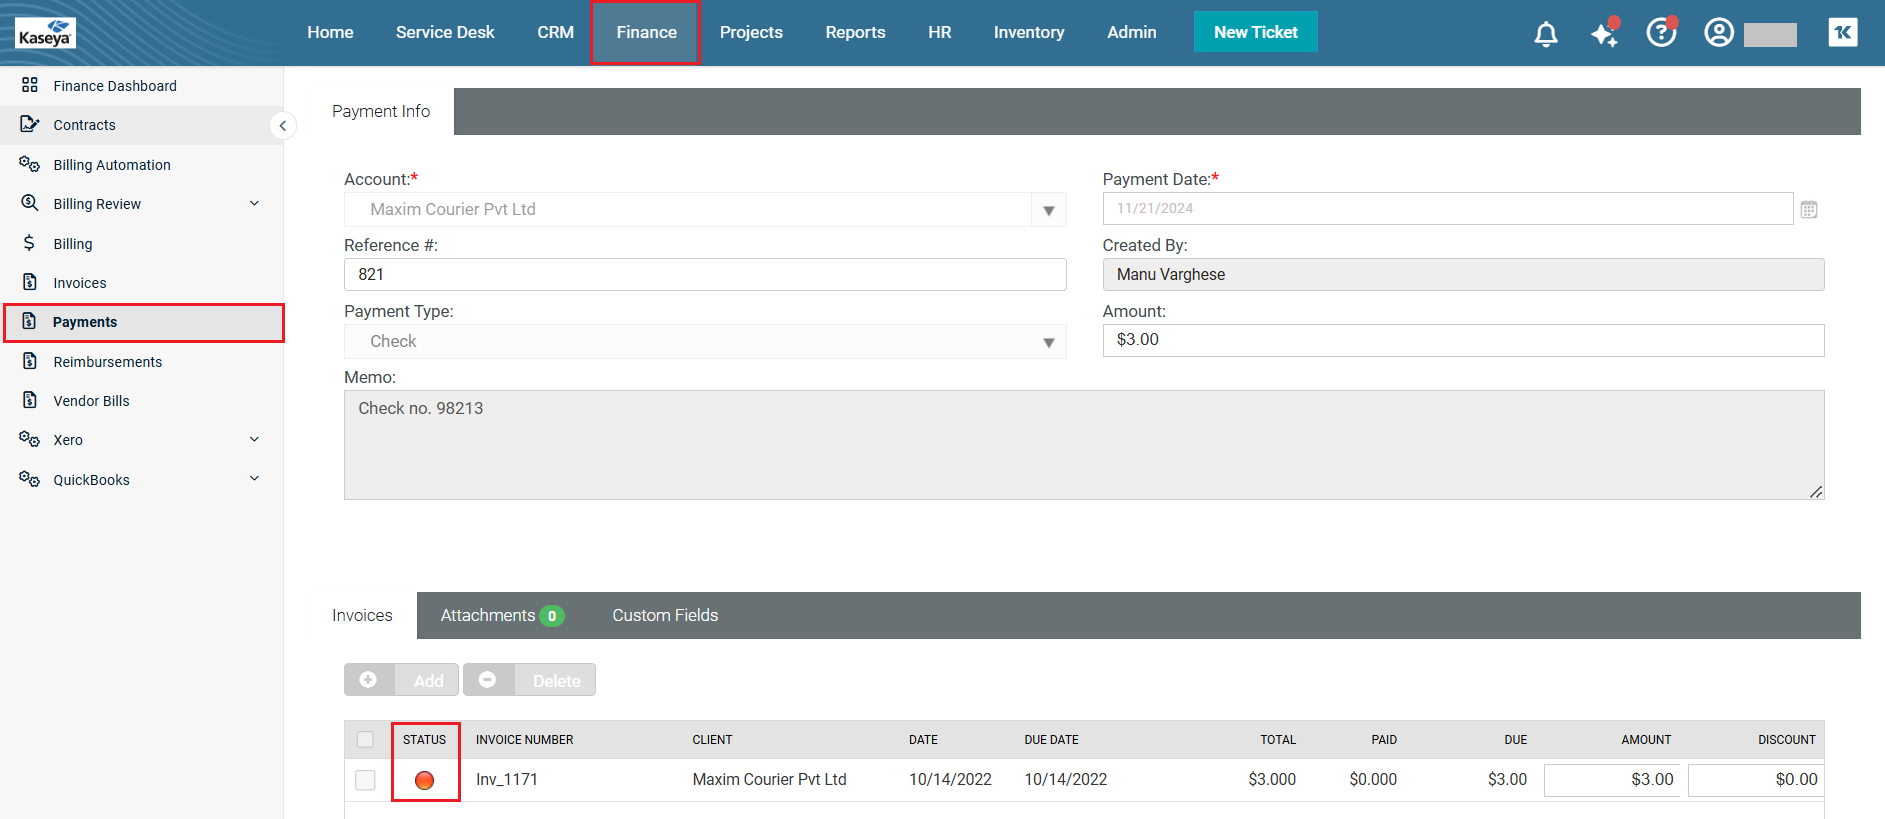
Select the checkbox next to the appropriate invoice and click OK. The invoice will be added to the grid under the Invoices tab.
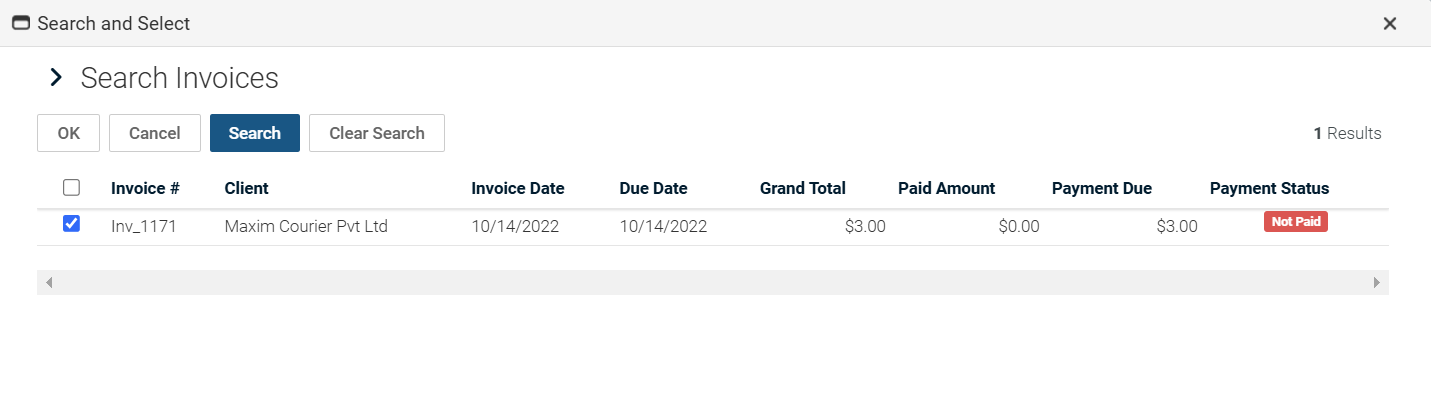
NOTE You will also be able to see the status of the invoice once it is added to the grid under the Invoices tab. For example in the below picture, the status shows Fully Paid next to the green button. If you hover your mouse over the button next to the invoice number, you can see the status of the invoice once it is in the grid.
-
Click the checkbox next to the invoice on the left to select it. If you have any documents to upload as proof of payment received, navigate to the Attachments tab.
-
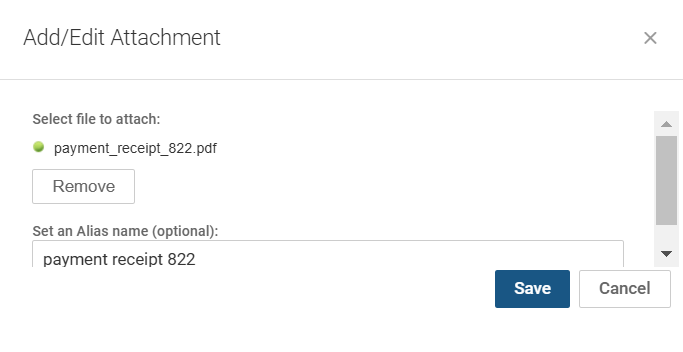
Click Upload a New File.
-
Locate and select the document to upload.
-
Enter an alias name.
-
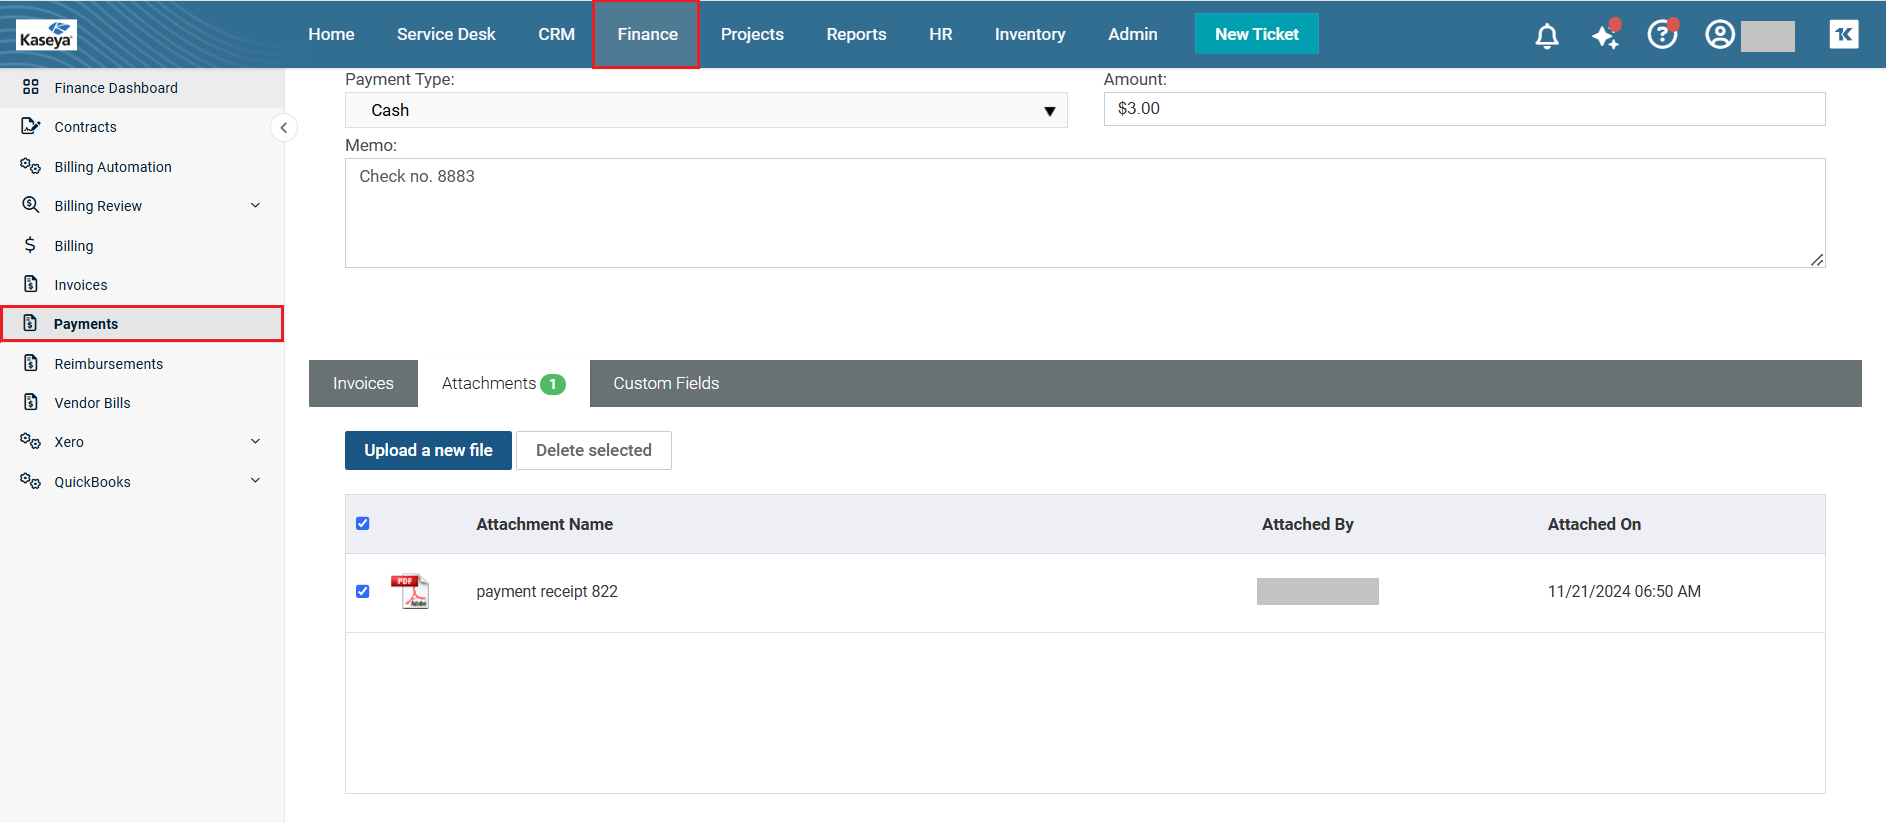
Click Save. The document will appear in the grid under the Attachments tab. If you have attached a wrong document, you can select the checkbox next to the document attached and then click Delete on top.
-
Fill in custom information in the Custom Fields tab.
-
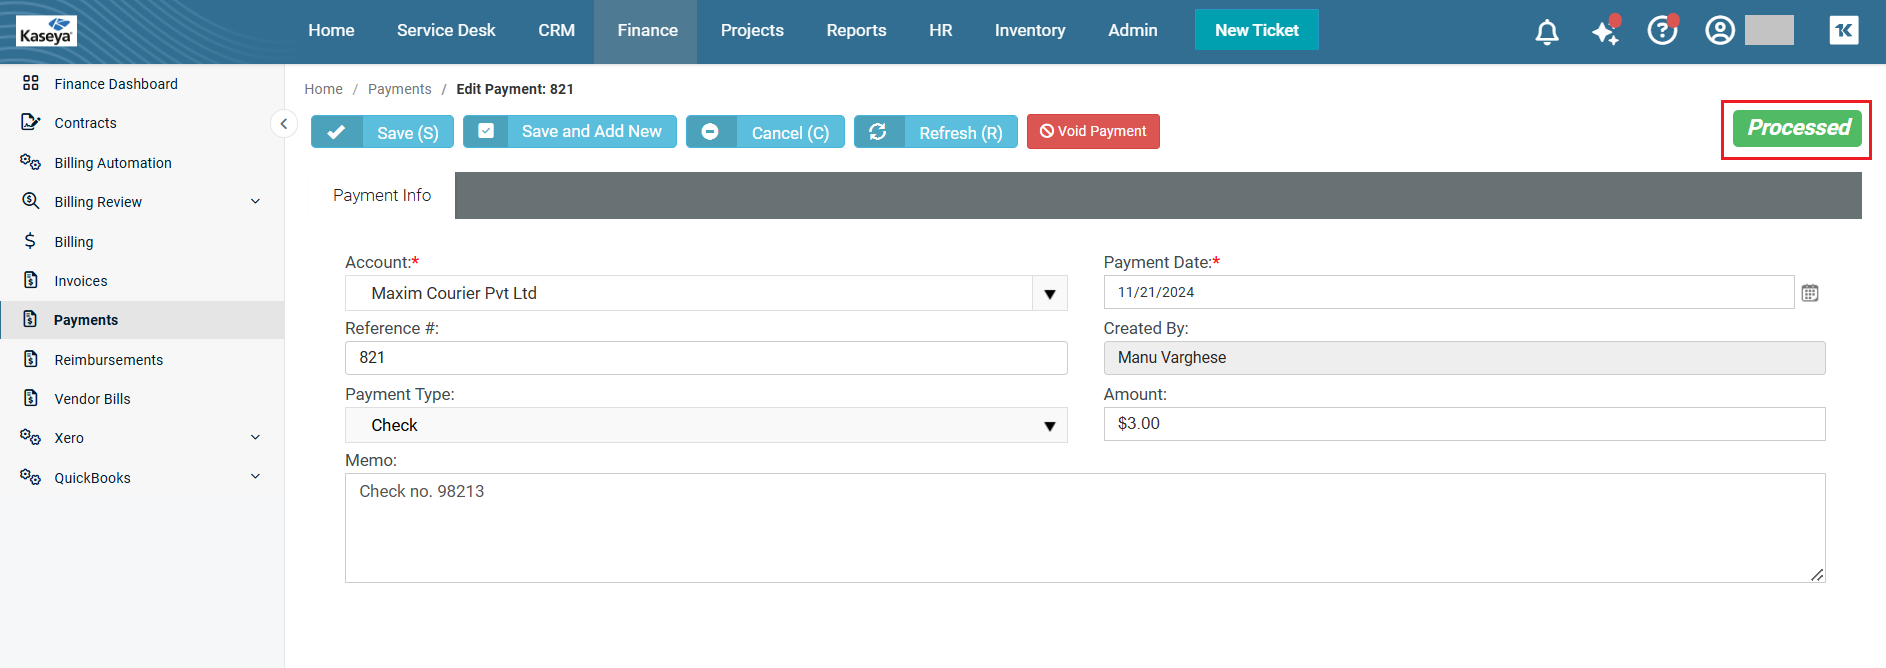
Click Save on the top of the page. The linked invoice status will update to "Fully Paid" if the payment matches the invoice grand total, or "Partially Paid" if the payment is less than the invoice grand total. You will also see a message which says Processed on the top right. To process another payment manually right after this, click Save and Add New. To cancel everything that you have entered and/or selected so far and if you have not saved the info, click Cancel. Clicking Cancel will take you to the Payments listing page. To refresh the page, click Refresh on the top. The Refresh button will become active only after you save the basic info. The Void button will appear after you have the saved the entire information (including information in all the tabs at the bottom).
Voiding a payment received
If you have already received and acknowledged a payment, you can still void the payment received.
-
Navigate to Finance > Payments.
-
Click the payment received that you want to void. The payment opens in edit mode.
-
Click
 on the top of the page. BMS asks for confirmation.
NOTE Once you void the payment, you will not be able to edit the invoice's amount or discount anymore.
-
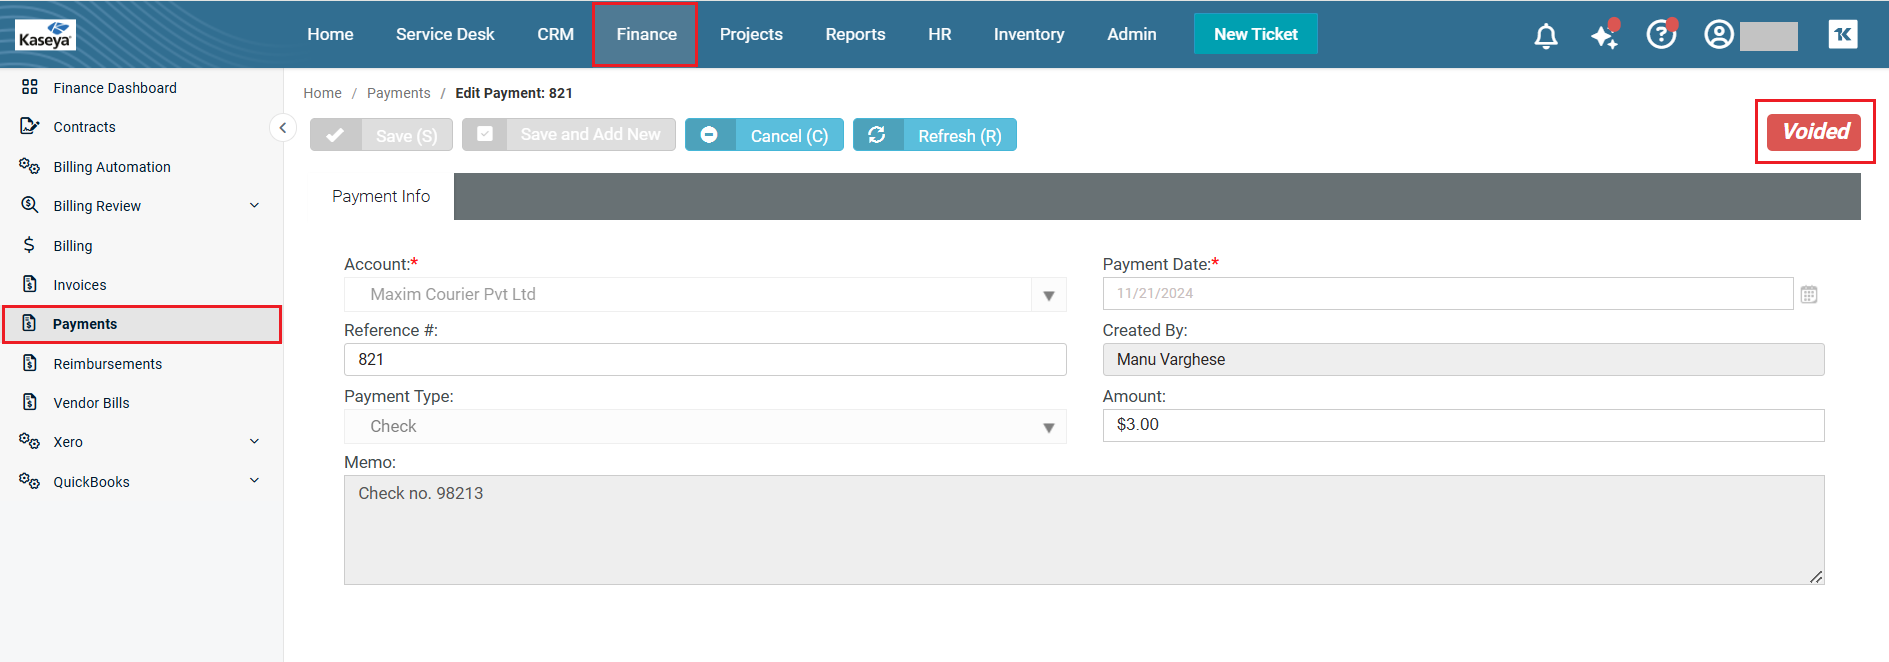
Click Yes. The payment is voided. In the Invoices grid, you will see that the color of the status button of the invoice that you voided has turned red. You will also see the status Voided on the top right.
You will also be able to see the status Void at the far right of the invoice that you voided in the Payments listing page.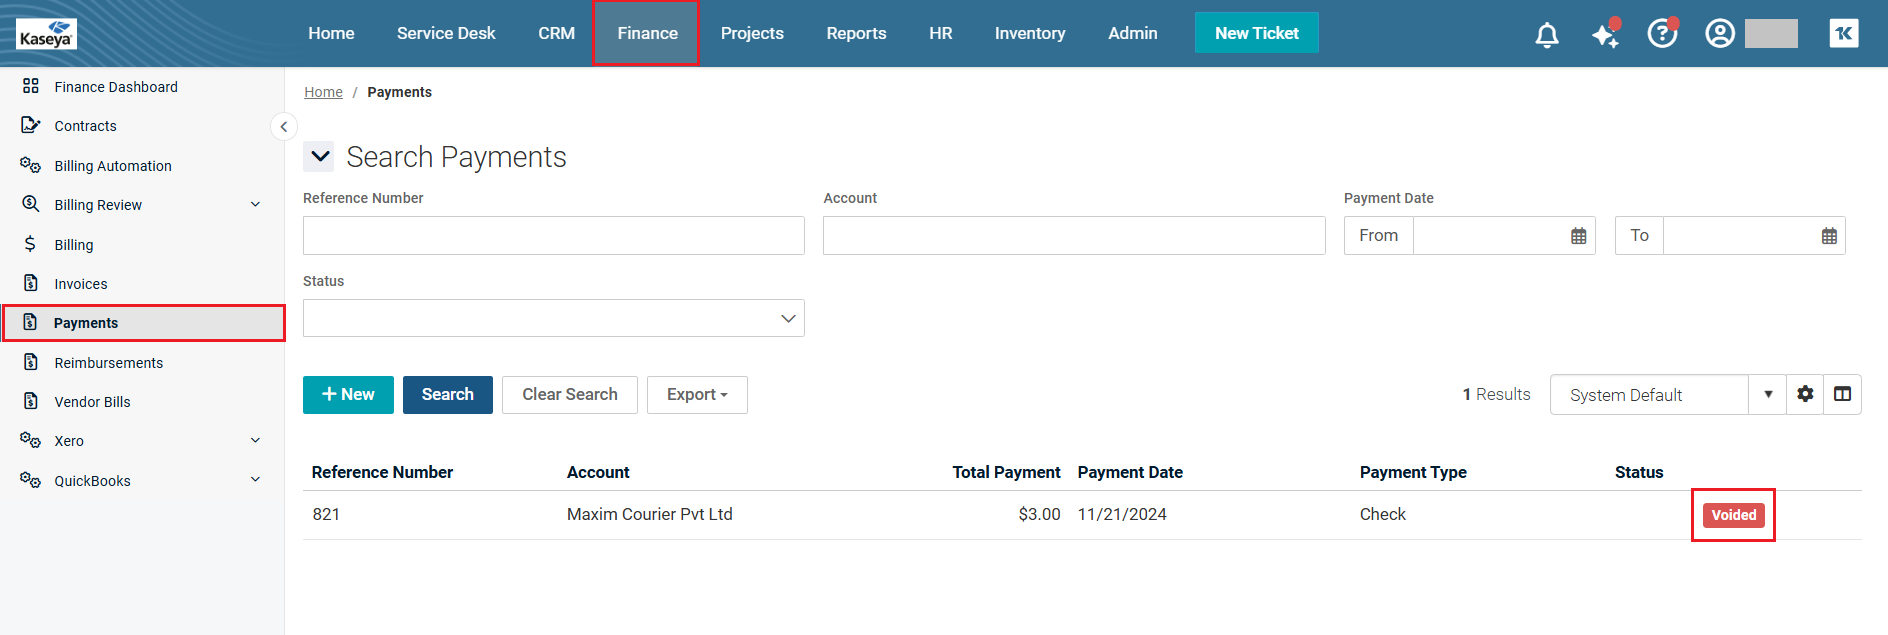
Editing a payment received
You can edit a payment received in pretty much the same way as you would any other page in BMS as long as it is a processed payment. Additionally, you can even void the payment in edit mode.
-
Navigate to Finance > Payments. The Payments page opens.
-
Click the payment that you want to edit. The Payment page opens in edit mode.
NOTE If you are editing a voided payment, you will be able to edit only the Reference Number field under the Payment Info tab, fields in the Attachments tab and fields in the Custom Fields tab. If you are editing a processed payment, you can edit all the fields in the page (including the ones in the tabs at the bottom) except for the Created By field (which shows the logged in user).
-
Make changes wherever you want.
-
Click Save. To process another payment manually, click Save and Add New. To cancel everything that you have entered and/or selected so far and if you have not saved, click Cancel. Clicking Cancel will take you to the Payments listing page. To refresh the page, click Refresh on the top.
Deleting a payment received
You cannot delete a payment received. You can only void a payment received.
Saving a customized view
The grid that you see beyond the search area shows the default view; however, you can customize a view and save it. You can then click the saved view and the grid will show the customized view with selected columns.
-
Navigate to Finance > Payments. The Payments page opens.
-
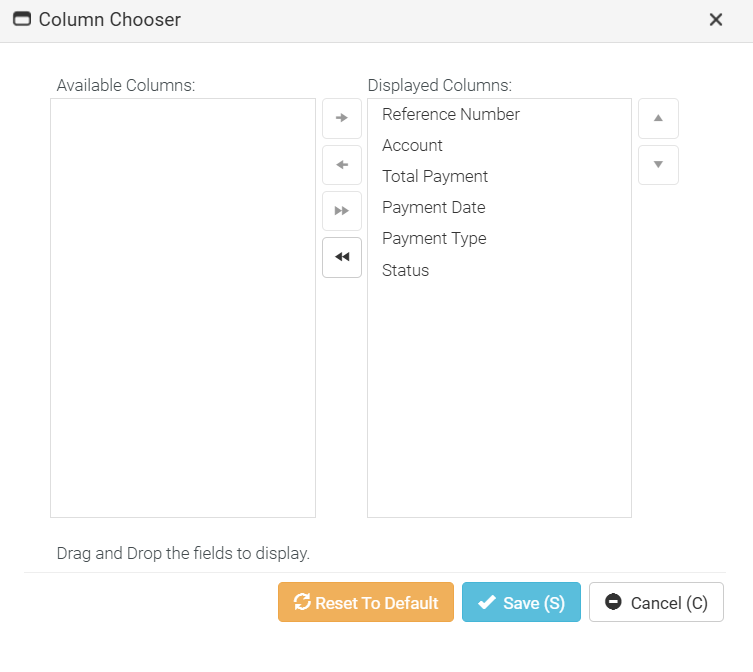
Click the Column Chooser (open book) icon which is next to the settings icon. The Column Chooser window opens.
-
By default, all columns under the Available Columns section can be moved to the Displayed Columns section. If you want to move the Available Columns one by one to the Displayed Columns, click the single right arrow or just slide them to the right. If you want to move all Available Columns to the Displayed Columns at once, click the right double arrow. You can click the left arrows and move the columns vice versa as well.
-
Click Save. The rearranged columns will now appear in the grid.
-
Click the sprocket (settings) icon and then click Save As.
-
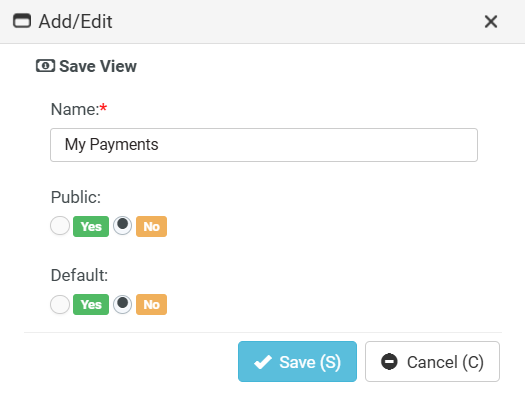
Enter a name for your customized view.
-
Public: Click Yes or No according to your choice. If you select Yes, the view will be made public. If you select No, the view will be made private.
-
Default: Click Yes or No according to your choice. If you select Yes, the view will be made the default view. If you select No, the view will not be made the default view.
-
Click Save. You will now see that the name of the view has been added to the Views dropdown.
Sharing a customized view
You can share your custom view with others. Once you create a custom view, other options will appear as dropdown in the settings icon.
-
Navigate to Finance > Payments. The Payments page opens.
-
Select the view from the view dropdown.
-
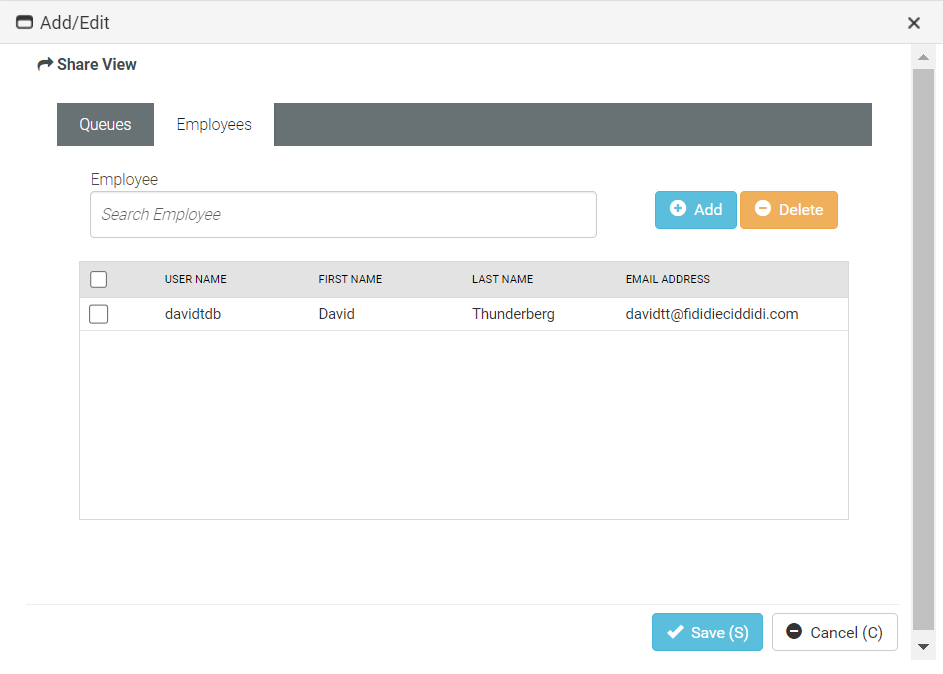
Click Share. The Share View window opens. You will see two tabs - Queues and Employees. The Queues tab is open by default. You can use one of the tabs or both the tabs.
-
Queue: Select a queue from the dropdown and click Add. The queue is added to the list below.
-
Click to select the relevant checkboxes.
-
Click Save.
-
If you wish to share the view with certain employees, go to the Employee tab.
-
Employee: Enter the first few letters of the employee. The employee name appears.
-
Click Add. The employee name is added to the list below.
-
Click to select the relevant checkboxes.
-
Click Save. The customized view is shared with the selected employee. To cancel everything that you have entered and/or selected so far and if you have not saved, click Cancel. Clicking Cancel will take you to the Payments listing page.
Exporting the grid
You can export the grid as an Excel file. The grid might contain several pages in some cases depending on the number of payments received that you have processed. You can export the current page or all the pages together as an Excel file.
-
Navigate to Finance > Payments. The Payments page opens.
-
Click Export > Current Page or All Pages.
-
In the Save As window, enter an appropriate file name.
-
Click Save. You will see a downloaded Excel file at the top right corner of your browser. This file contains tabular data from the grid.


