Viewing logs
Introduction
This topic takes you through the different logs that are available under the Admin > Logs menu item. Logs are found under Outbound Email, System, Import, and Agent Procedure Runs pages. Logs are retained for 30 days and then deleted thereafter.
Outbound Email
Admin > Logs > Outbound Email
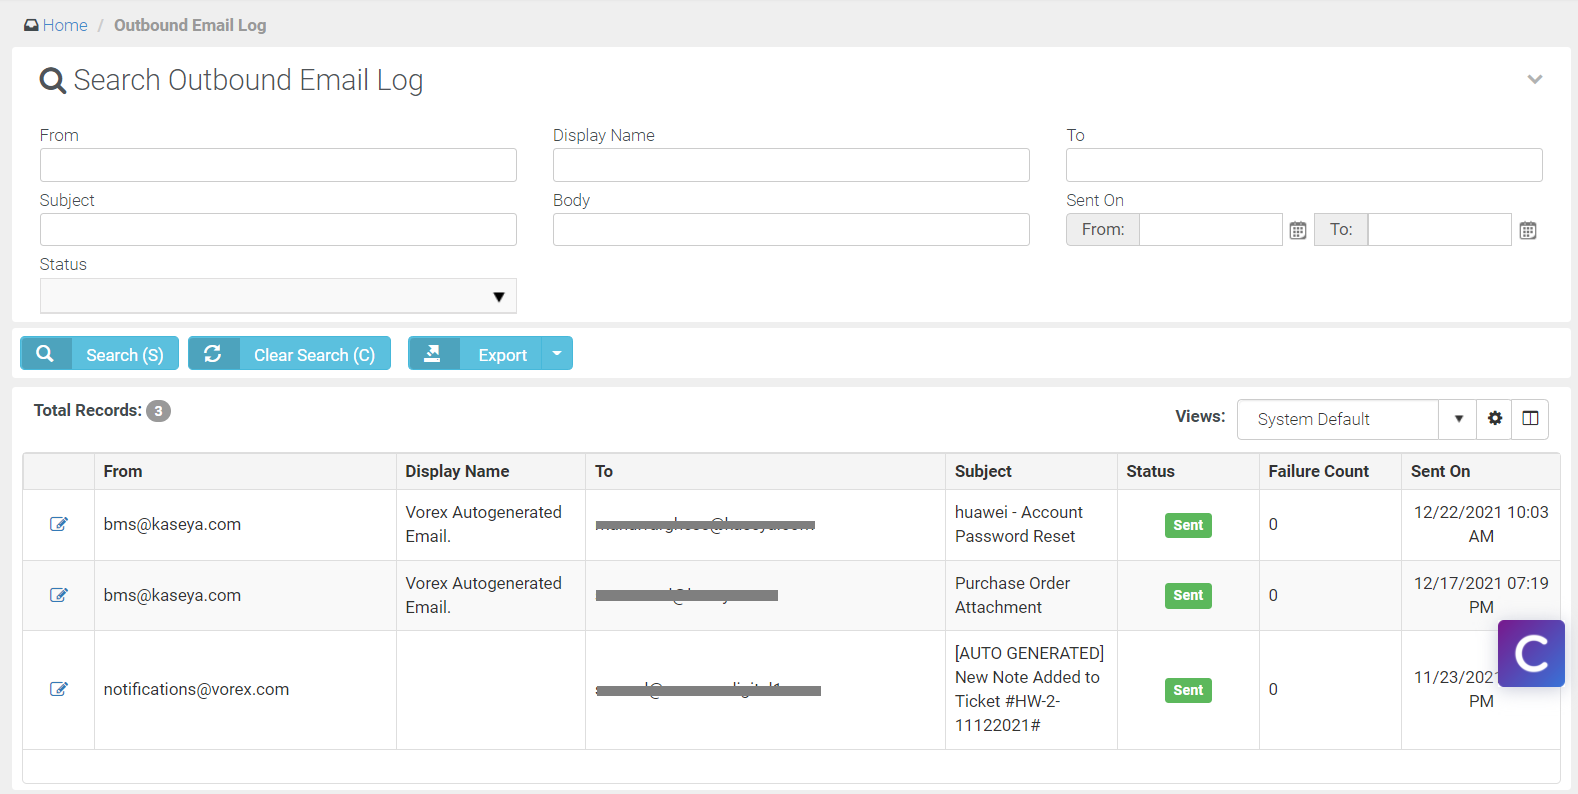
The Outbound Email page provides an audit of all outbound email used to notify customers. The logs are listed in the grid that you see towards the bottom half of the page. The top part of the page provides search options to search for any logs of your choice.
Searching for an outbound email log

- Enter/Select the search criteria from the following search options.
- From: From address
- Display Name: Display name of the from address
- To: To address
- Subject: Subject line in the email
- Body: Any key words in the body of the email
- Sent on: From __, To __: From date and to date
- Status: There are four statuses available. They are Check All, Failed, Sending, Sent. You can select one or more options here.
- Enter and/or select any of the above search criteria and click Search.
To clear the search results, click Clear Search.
Exporting the grid
You can export the details in the grid to an Excel file. You can export the current page or all pages to an Excel file. To export, click Export and then select one of the two options - either Current Page or All Pages.
Email Log Info and Email Log History tabs
To see the details an email log, click the Open/Edit option. The email log opens with two tabs. The first tab called Email Log Info is the default tab that opens first. You can view the details of the log here. The second tab called Email Log History displays the different dates and timings of sent history.
Deleting, resending, and forwarding a mail
While you are within the Email Log Info tab, you can delete the log, resend the email to the same person or forward it to a different person with CC and BCC options. You can edit the email before you forward it to another person.
Saving a customized view
The grid that you see beyond the search area shows the default view; however, you can customize a view and save it. You can then click the saved view and the grid will show the customized view with selected columns.
- Click the open book icon on the top right part of the grid. The Column Chooser window opens.
- Under the Available Columns section, click a column name, then click the right arrow, and add it to the Displayed Columns section on the right.
- Click Save. You will now see the column along with the other columns in the grid.
- Click the sprocket icon, then click Save As. The Add/Edit window opens.
- Provide a name for your customized view.
- Public: Select Yes if you want to make this view a public view. Default selection is No. Leave the selection as No if you want to make this view a private view.
- Default: Select Yes if you want to make this view the default view. Default selection is No. Leave the selection as No if you do not want to make this view the default view.
- Click Save. You will now see that the name of the view has been added to the Views dropdown.
System
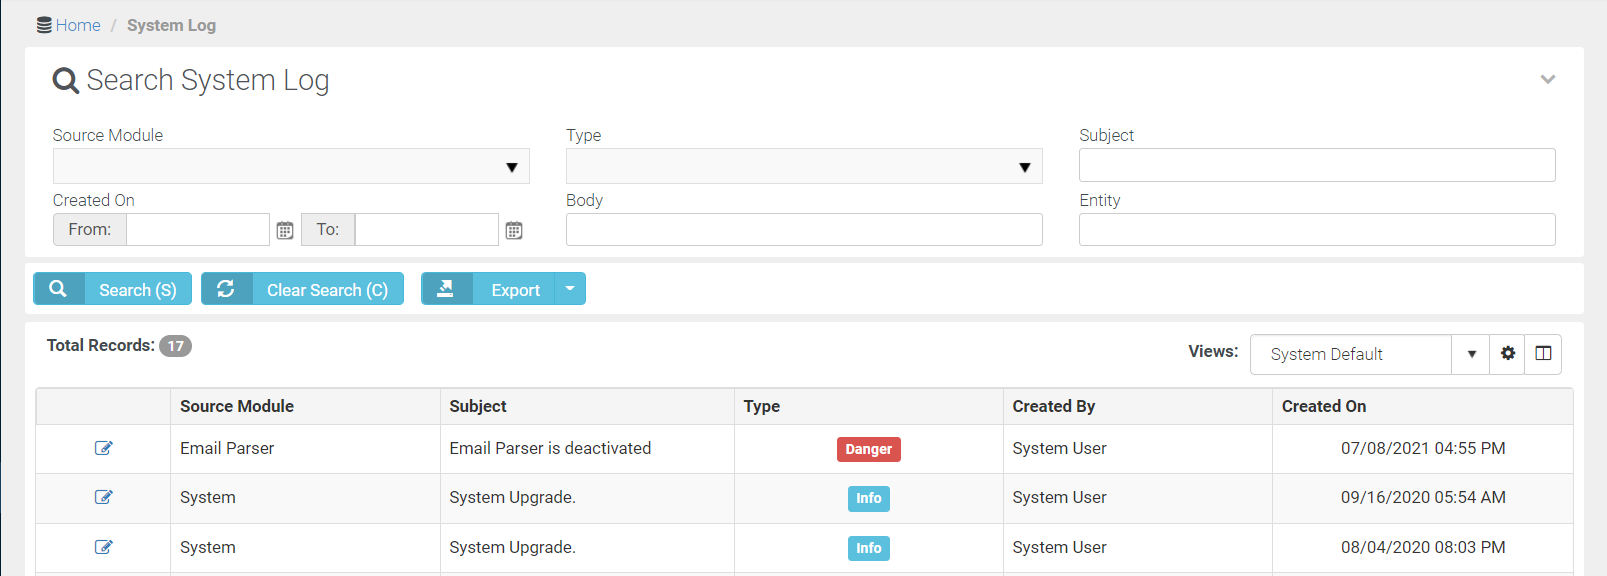
The System page hosts logs that are related to parser Issues, AD sync issues etc. If these issues are not found, the System page will be empty. From Oct 2021, messages regarding upgrade are displayed through Intercom and do not reflect in the System page. Even when a ticket is deleted from any source (Manually - single or batch delete or API ), a log will be created here.
Whenever a password is reset from the login page, employee profile, or from CRM Contacts page and whenever a login is blocked after multiple failed attempts, logs are created under System Logs > Security Audit category to mark the event with relevant information.
Admins or anybody else cannot delete logs. Data retention for data audit has been changed to one year now.

Searching for a system log
When you arrive at the System page, the search area is actually hidden. Click the Search System Log space to reveal the search options.
- Enter/Select the search criteria from the following search options.
- Source Module: Source module of BMS
- Type: Type and criticality of information
- Subject: Subject of the log. You can search by any keywords that might be a part of the subject.
- Created on:From __;To __: From date and to date.
- Body: Any keywords that might be a part of the body of the log.
- Entity: Just ignore this field.
- Click Search.

Exporting the grid
See Exporting section above.
Viewing more log details and deleting
You can click the Open/Edit button to view more details of a log. Once you open a log, you can see more details under the System Log tab. You can even delete a log by clicking the delete button on the top right corner.
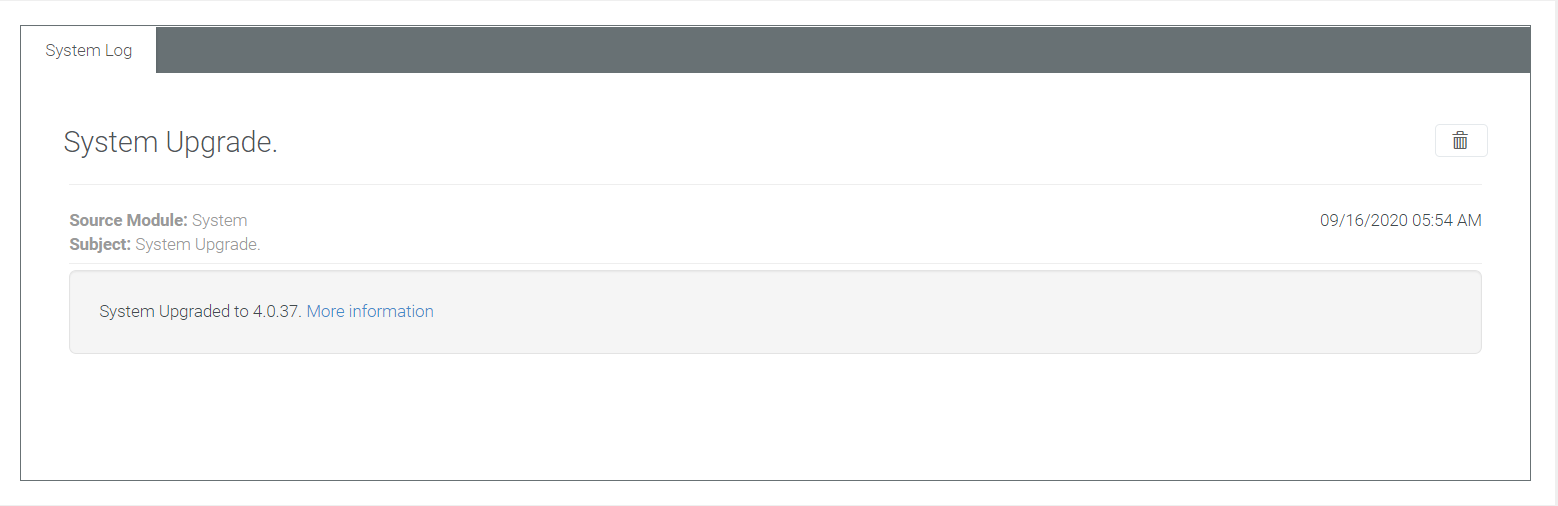
(The above image is that of a system upgrade and is shown here only for representational purposes. System upgrade messages are no longer shown in System page. They are shown through the Intercom.)
Saving a customized view
See Saving a Customized View section above.
Import
Admin > Logs > Import
The Import Log page logs imports done through Admin > Imports > Import Data page through an Excel template file. Logs are created for import types such as hardware assets, accounts, products, services and contacts.
Searching for an import log
- Enter/Select the search criteria from the following search options.
- User Name: Enter any BMS user name
- Log Date: From __;To __: Select a date range by selecting a from date and to date for the logs
- Log Type: Select the types of logs that would like to see.
- Module: Select the modules for which you would like to see the logs.
- Click Search.
Exporting
See Exporting section above.
Saving a customized view
See Saving a customized view section above.
Agent procedure runs
Admin > Logs > Agent Procedure Runs
The Agent Procedure Runs page displays logs on agent procedure runs on workflows related to tickets. For the agent procedure logs to appear, you should have an active RMM integration.
Searching for an agent procedure run log
- Enter/Select the search criteria from the following search options.
- Agent Procedure: Enter the keywords of the agent procedure that you want to search for.
- Admin: Enter the admin user name.
- Asset: Enter the name of the asset for which you want to see the agent procedure run.
- Ticket: Enter the ticket number.
- Workflow: Enter the name of the workflow.
- Run on: From __;To __: Select a date range by selecting a from date and to date for the logs
- Click Search.
Exporting the grid
See Exporting the grid section above.
Saving a customized view
See Saving a customized view section above.
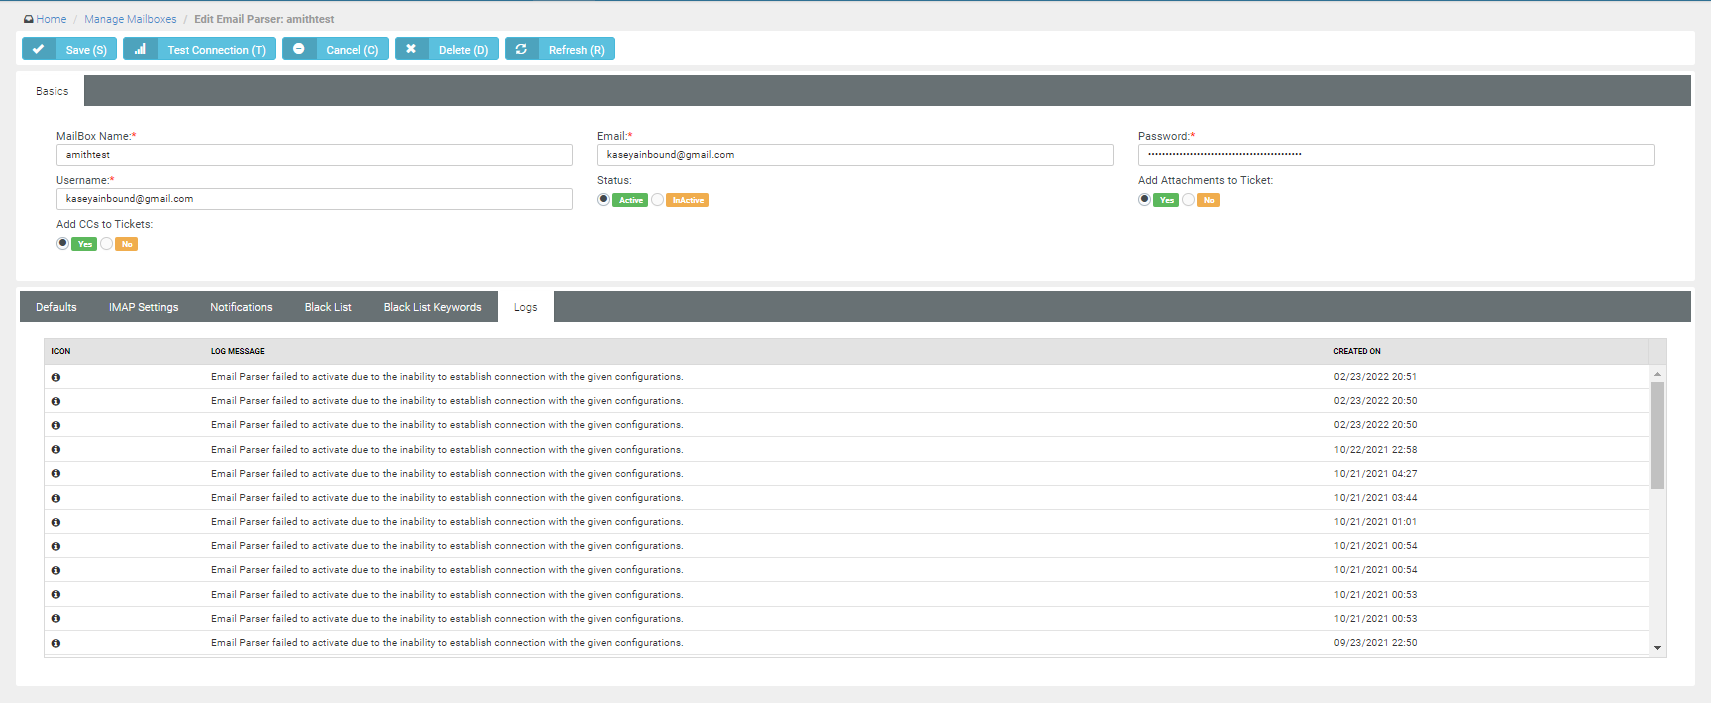
Email parser logs
You will be able to see logs related to email parser under Email Parser > Logs tab. These logs document events related to email parser. There is no log for any password change done on the email parser.