Project Statuses
Security and navigation
PERMISSIONS Administrator and Project Manager
NAVIGATION Admin > Project > Project Statuses
Introduction
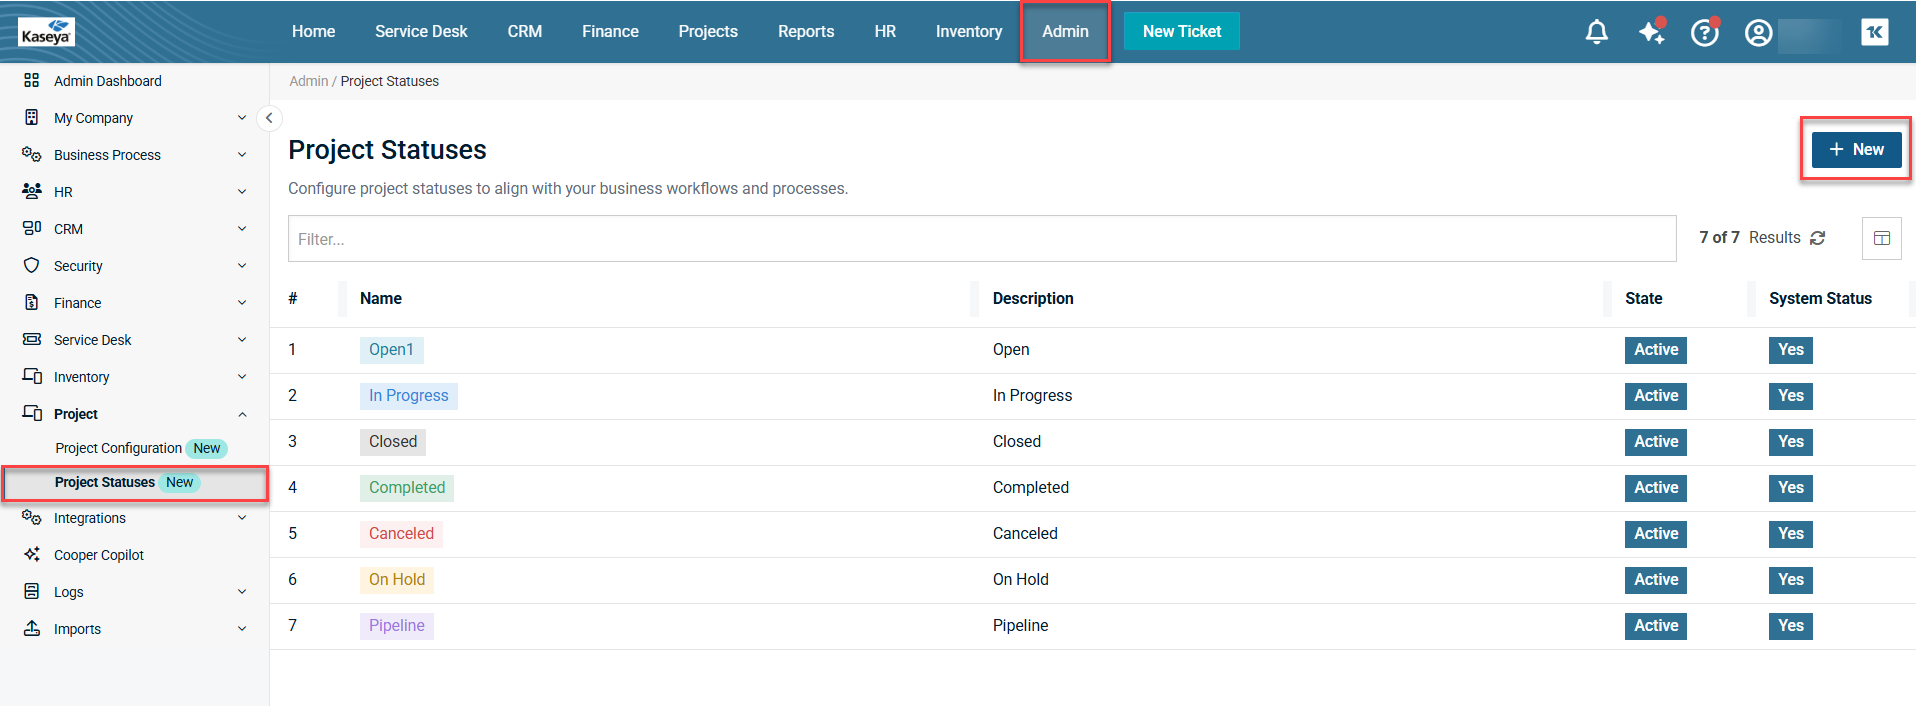
A project status indicates the phase of a project at a specific point in time. As a project progresses through multiple stages, its status changes accordingly. These statuses help track and communicate project progress and updates. This is in turn required to track and communicate the work status more effectively. You can set a default project status from the Project Configuration page. BMS/Vorex provides two types of statuses on the Project Statuses page:
-
Statuses that are system provided. These are denoted by Yes in the System Status column in the row of the respective project status.

These cannot be deactivated or deleted. -
Statuses that can be created by the admin. These are denoted by No in the System Status column in the row of the respective project status.

These are custom project statuses. These can be deactivated or deleted.
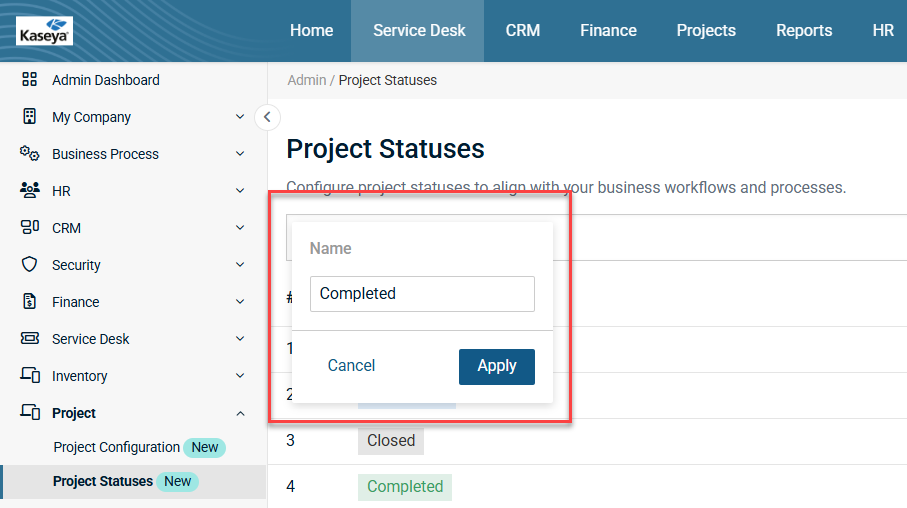
Searching for a project status
You can search for a project status using the Name filter:
-
Name:Enter either the partial or full name of the project status that you wish to search for.
-
Click Apply. The results are displayed.
Refreshing the page
To refresh the page, click the Refresh icon  next to the number of results in the upper- right corner of the page.
Creating a custom project status
To create a custom project status, perform the following steps:
-
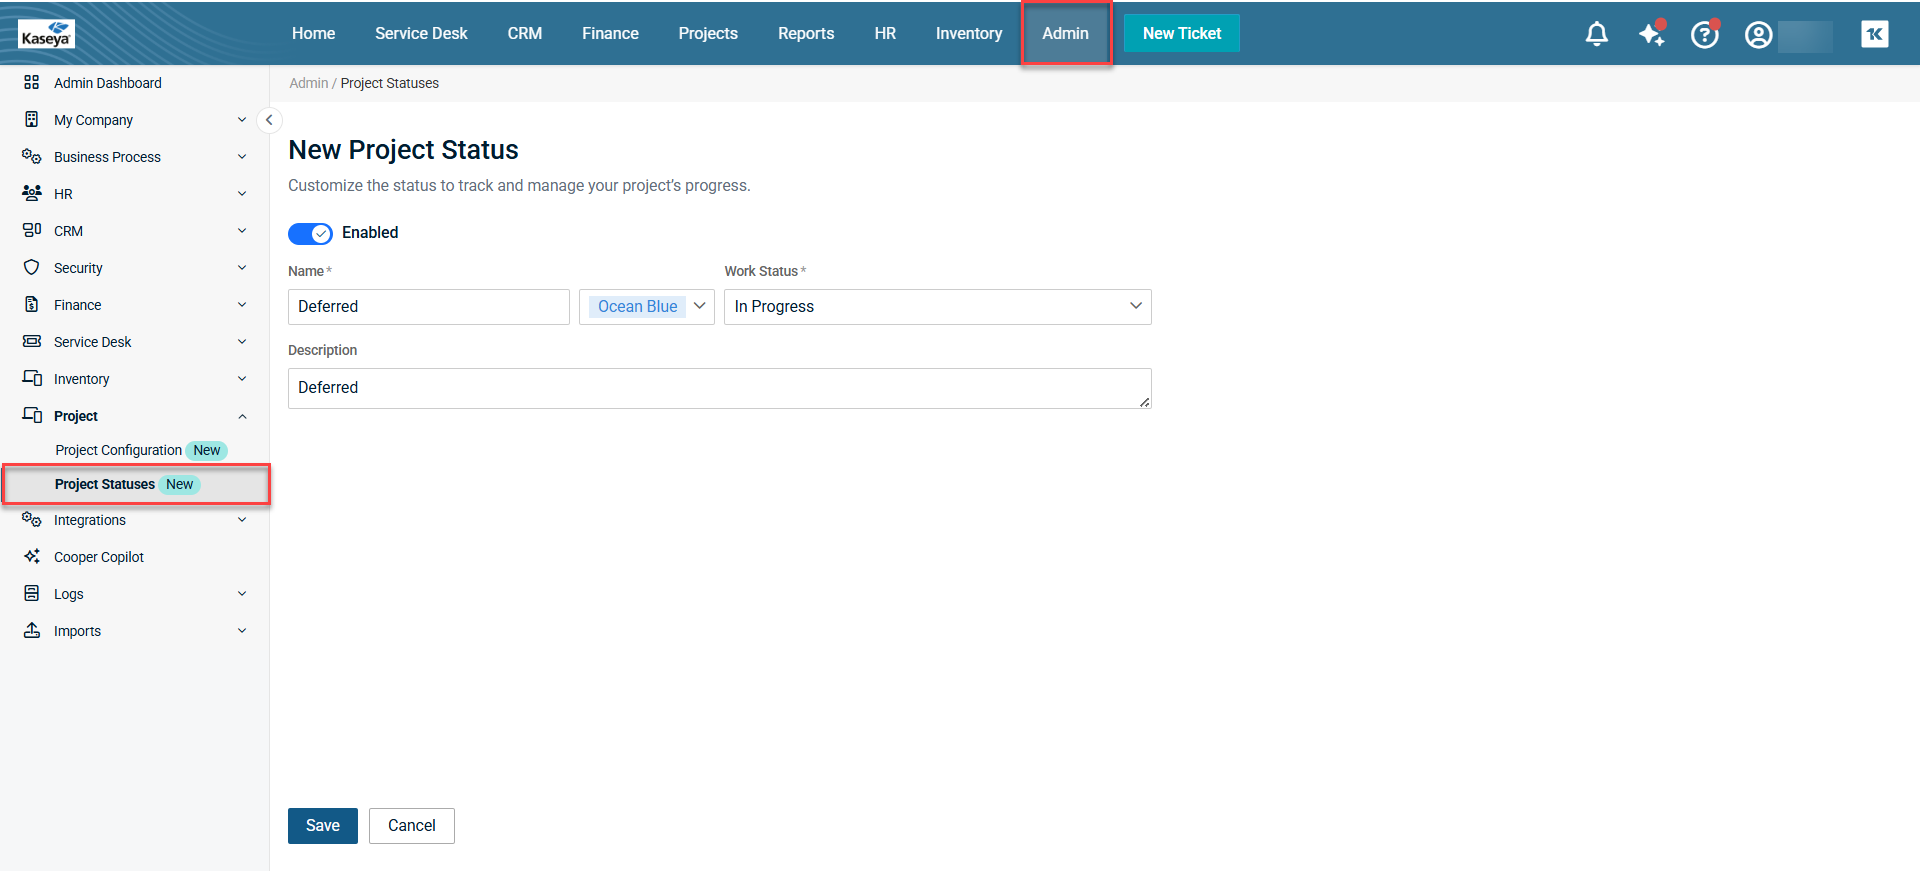
Click New at the top right of the page. The New Project Status page opens.
-
Enabled/Disabled: By default, the custom project status is enabled. To change the statues to Disabled, turn off the toggle.
NOTE You can save a custom project status even if you disable it. It will still be listed on the Project Statuses page, but it will show the status as Inactive.
-
Name: Enter a name for the new status.
-
Select a color from the drop-down menu to apply to the status.
-
Work Status: Select a work status from the drop-down menu.
NOTE Remember, your custom project status has to conform to one of the three work statuses listed in the drop-down menu.
-
Description: Enter a brief description.
-
Click Save. The custom project status is added to the existing list of project statuses.
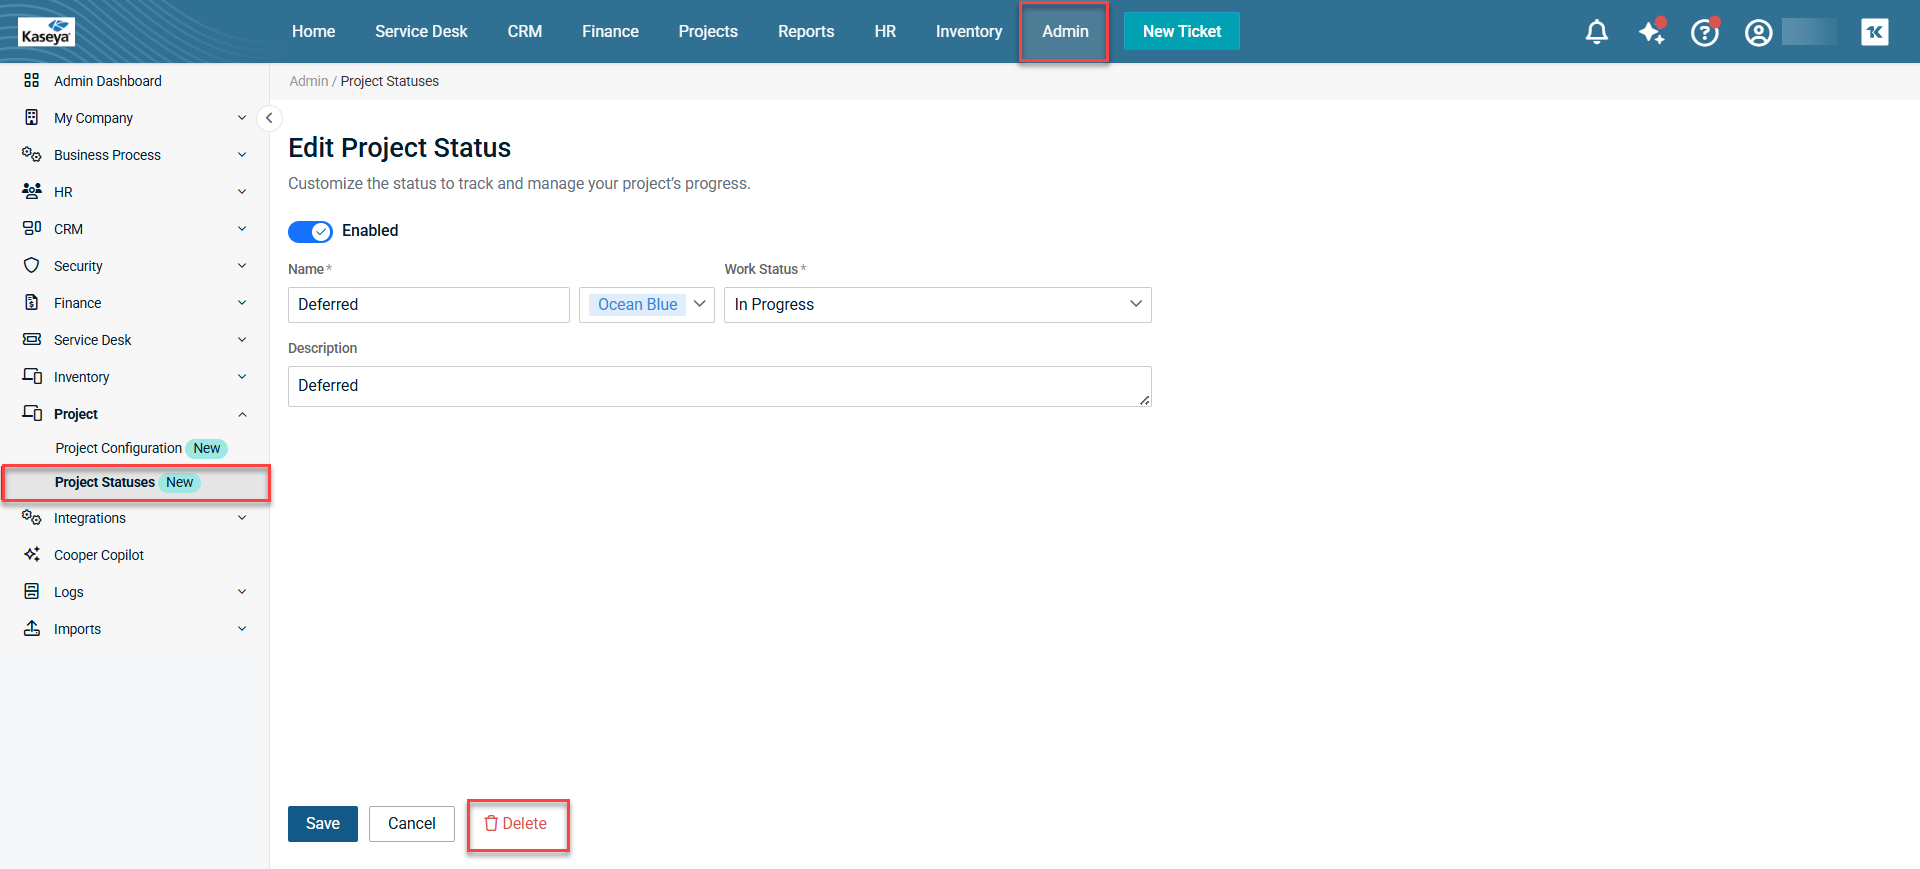
Editing a custom project status
To edit a custom project status, perform the following steps:
-
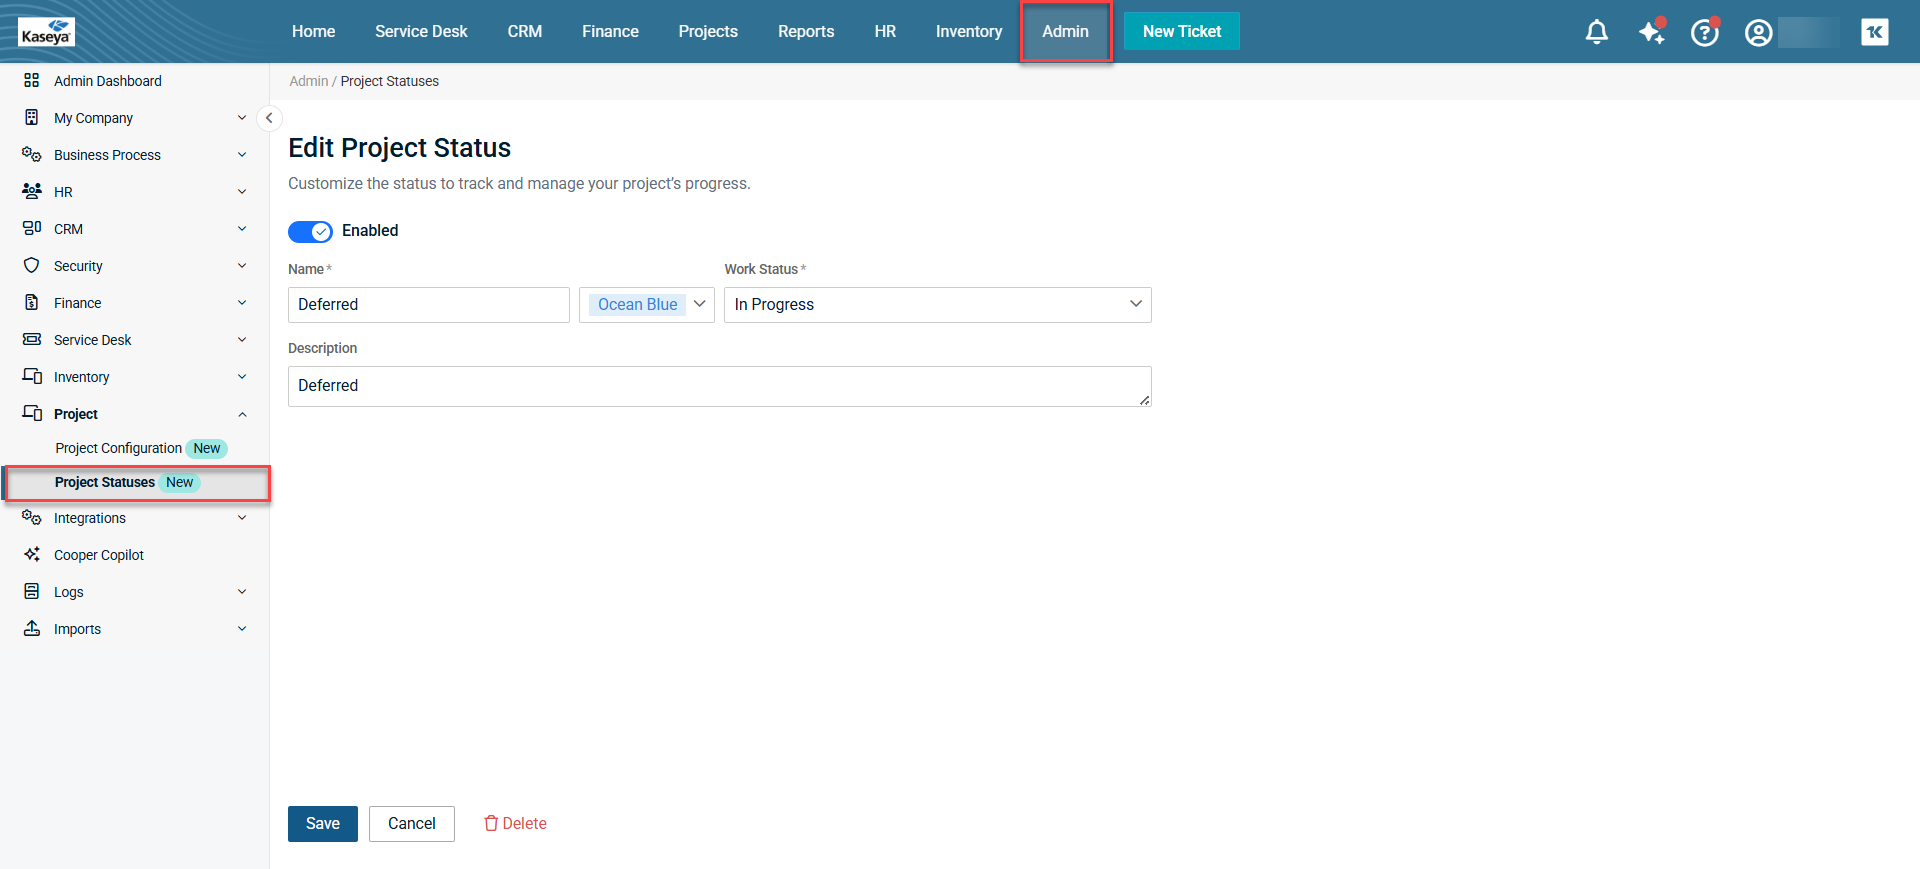
In the table, click the name of the project status that you want to edit. The project status opens in edit mode.
-
Make changes to the editable fields.
NOTE If you are editing a system status, you cannot edit the Enabled/Disabled status and Work Status field. However, if you are editing an admin-created custom project status, all fields are editable.
-
Click Save. The project status is now modified with the changes.
Deleting a custom project status
NOTE You cannot delete system statuses or statuses that are currently assigned to projects. However, you can delete an admin-created custom project status.
To delete a project, perform the following steps.
-
In the table, click the name of the custom project status that you want to edit. The project status opens in edit mode.
-
Click Delete at the bottom of the page. The custom project status is deleted.
Customizing the table view
To customize the columns that are available, perform the following steps.
-
Click the Table View Options icon
 in the upper-right corner of the Filter box. The Table View Options dialog box opens.
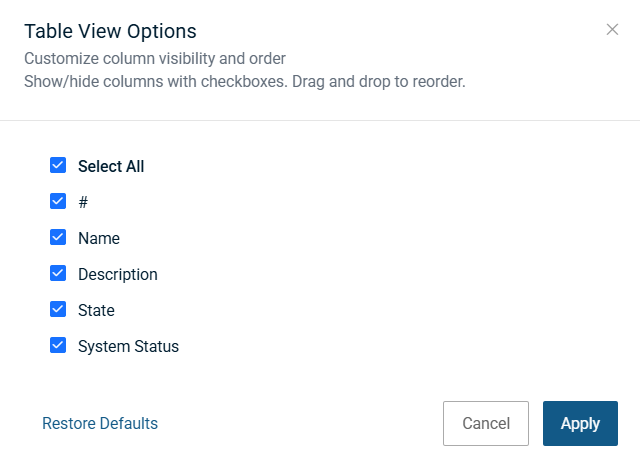
-
Select or clear as many columns as you want. You can drag and drop the columns to change the order in which they appear in the table. Your table view selections will persist if you navigate away from the page and return to it.
-
Click Apply. The grid view changes to include your selected columns.
To restore the default table view which includes all columns, click Restore Defaults.


